The causa is SO GOOD! It’s a dish commonly made in Peruvian households and the one with chicken is my favourite. There will always be the debate on what flavour of causa is the best but this is my favourite because it reminds me of my mom’s house and so it has sentimental value :).
The “causa” or “cause” in English is delicious with a large variety of fillings. It can be with chicken like this one or with canned tuna like I mention in the recipe below. Not only that but you can also fill it with salmon tartare, “olivo” octopus with an olive sauce, shrimp, crab, etc. Your creativity is the limit 😉
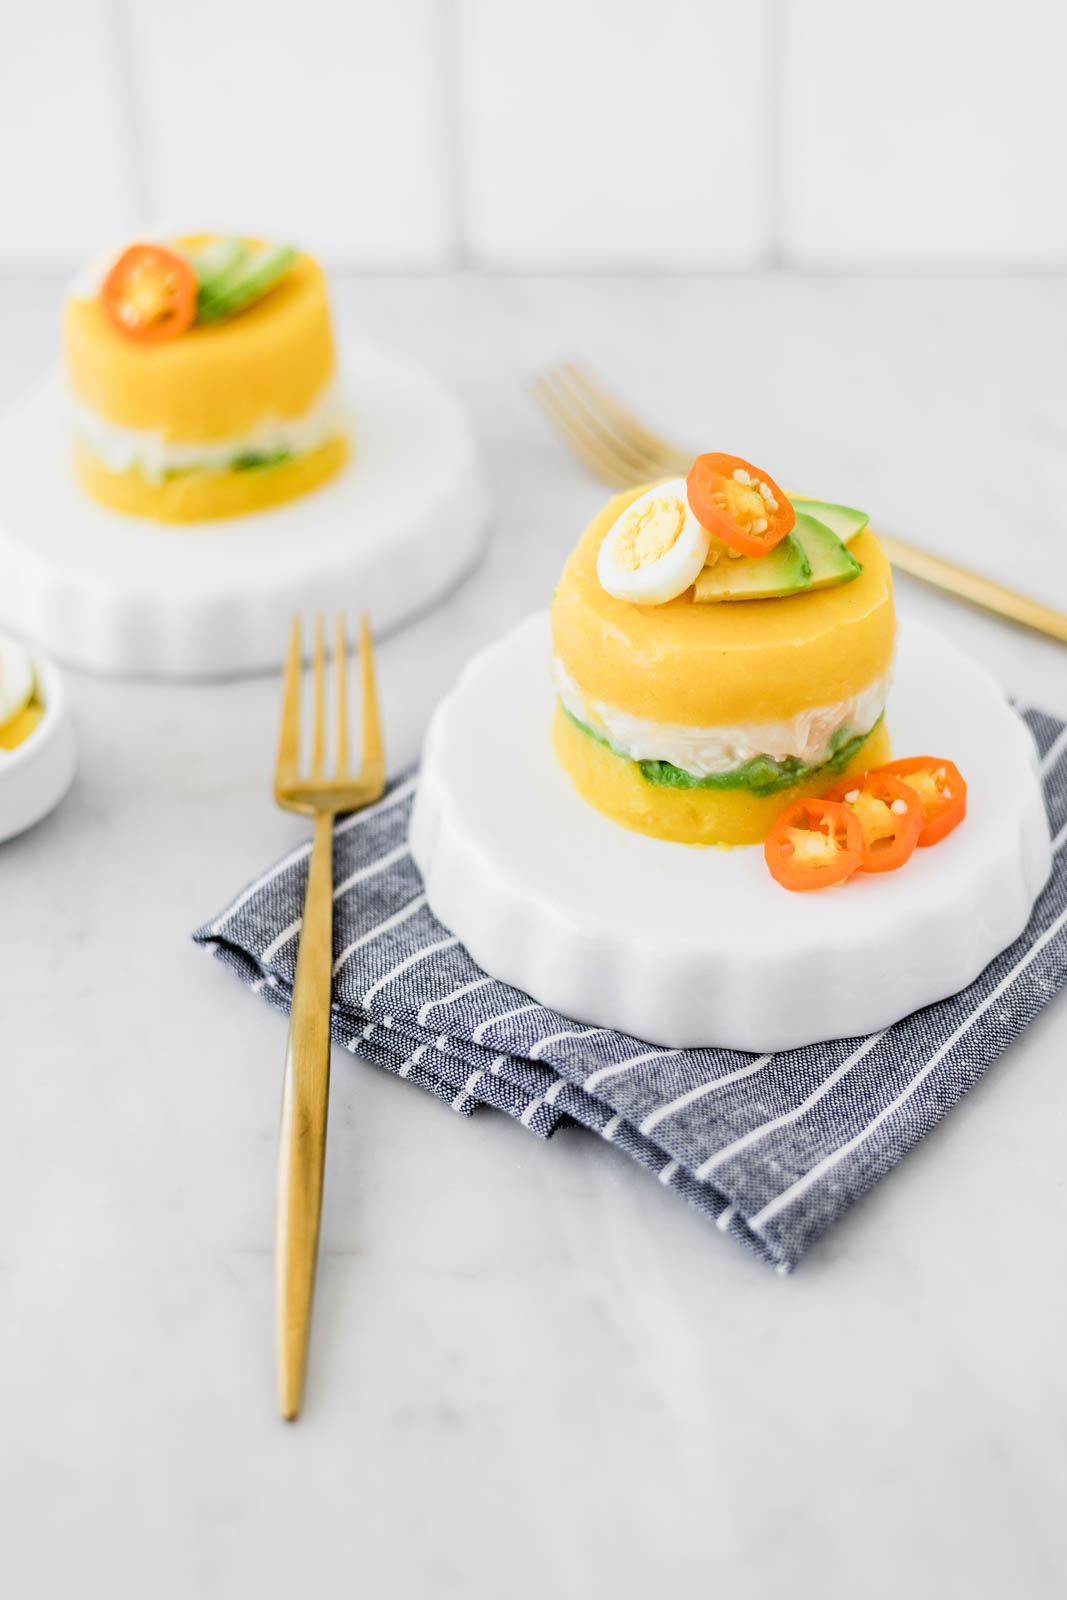
Many Peruvians who live outside of Perú feel intimidated when making causa if they cannot find the Peruvian yellow potato. But don’t let that stop you! Yes, it’s true that other potatoes don’t have 100% the same taste but it’s pretty similar and the most notorious difference will be that the yellow colour will be paler, but nothing too bad ;).
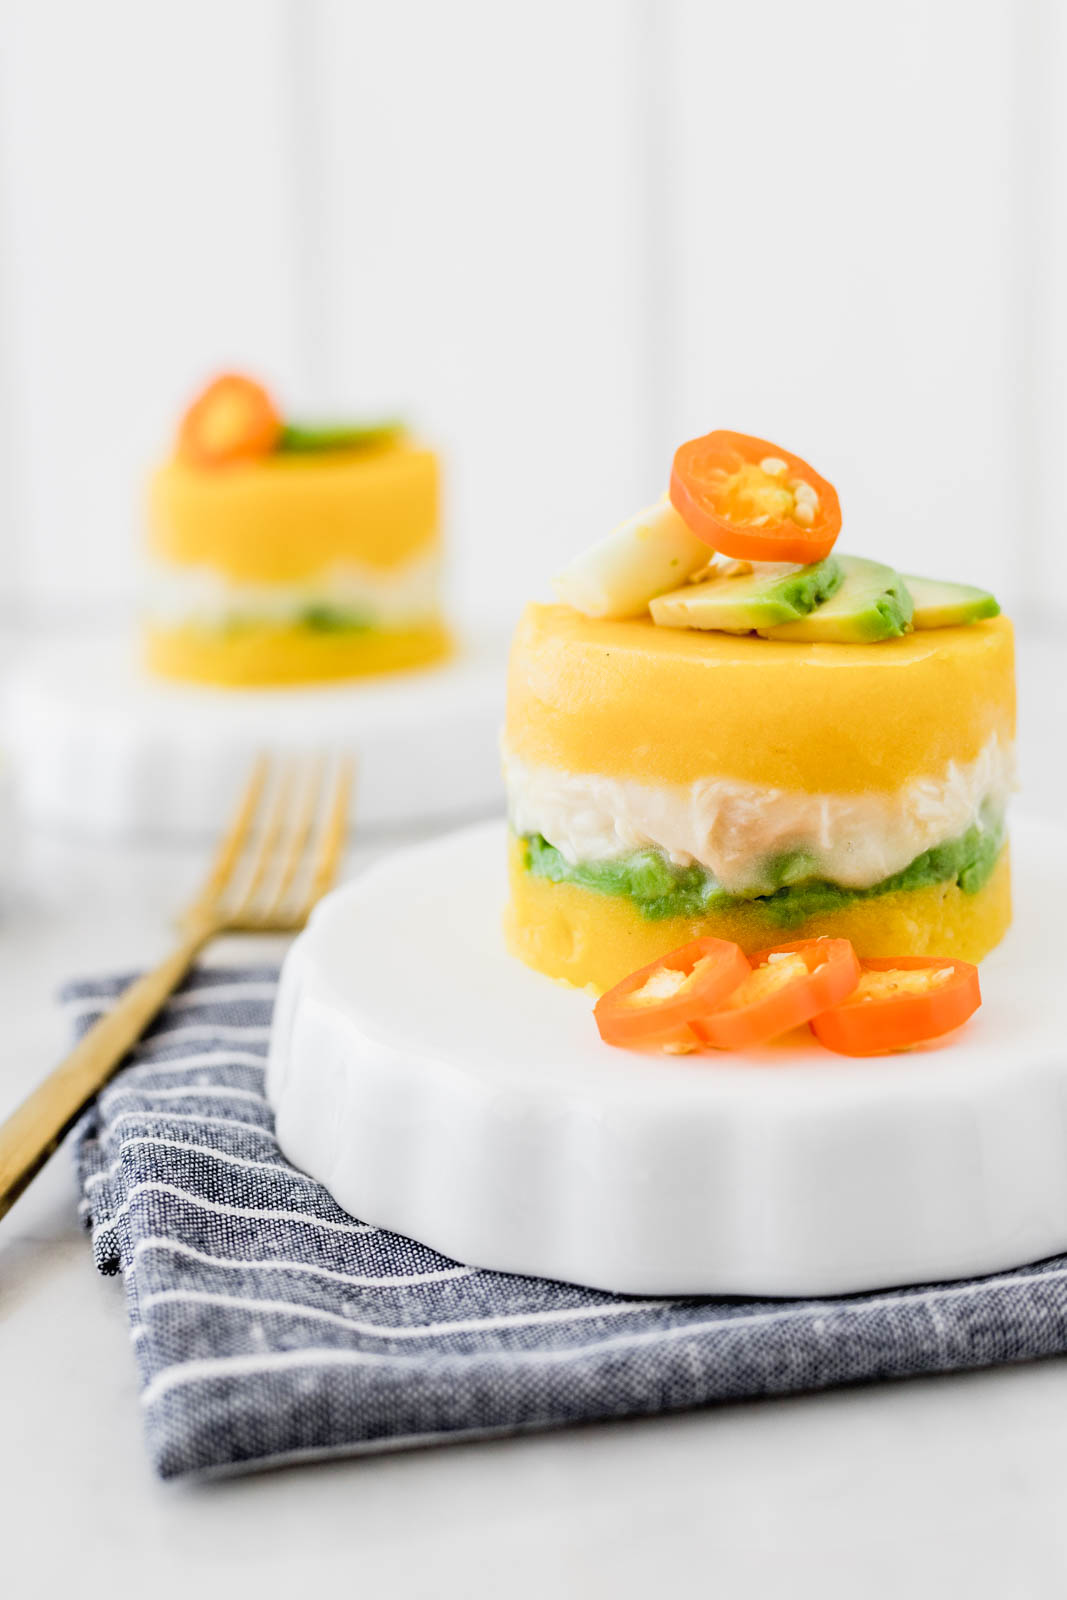
I garnished this “causa” with a hard-boiled quail egg which I loooove. It’s just too tasty. To make it I boiled water and dropped in the room-temperature eggs. They stayed in there for 4 minutes and then I took them out and into a bowl with iced water to stop the cooking process.
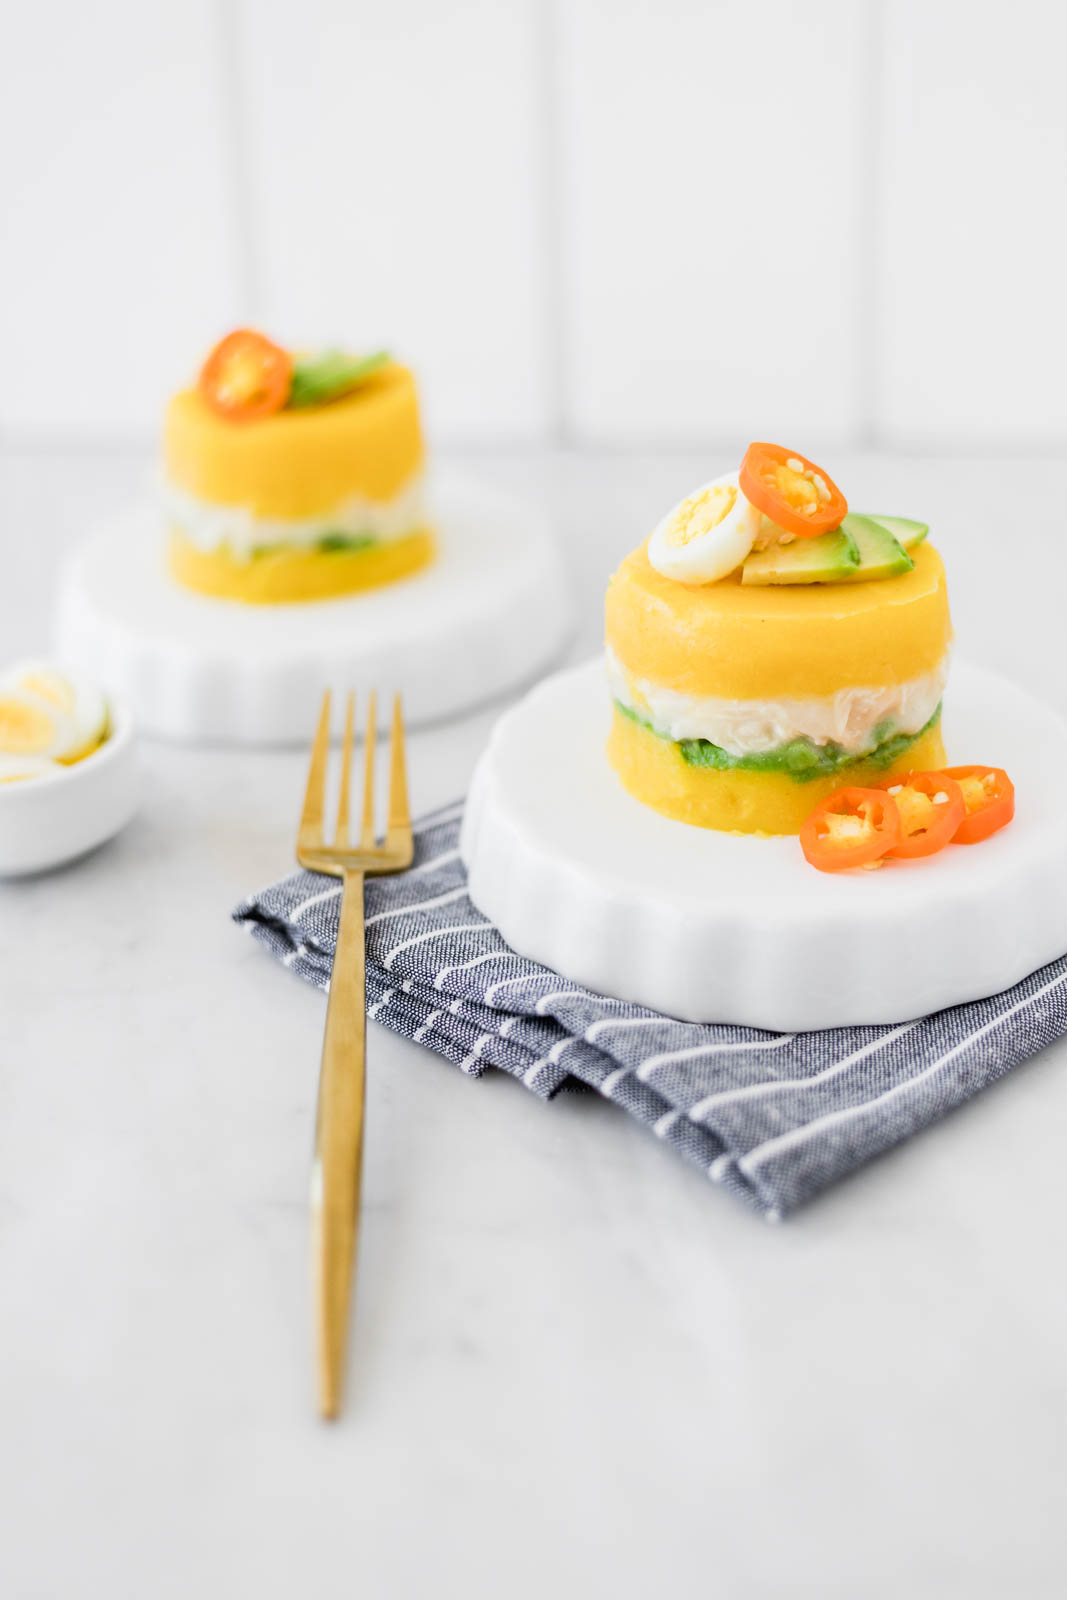
You can also make bite-size balls with the potato mix (it’s like plasticine) and put a bit of avocado on top or even thinly sliced octopus with the olive sauce or even a breaded shrimp. It also goes nicely with “Huancaína” sauce.
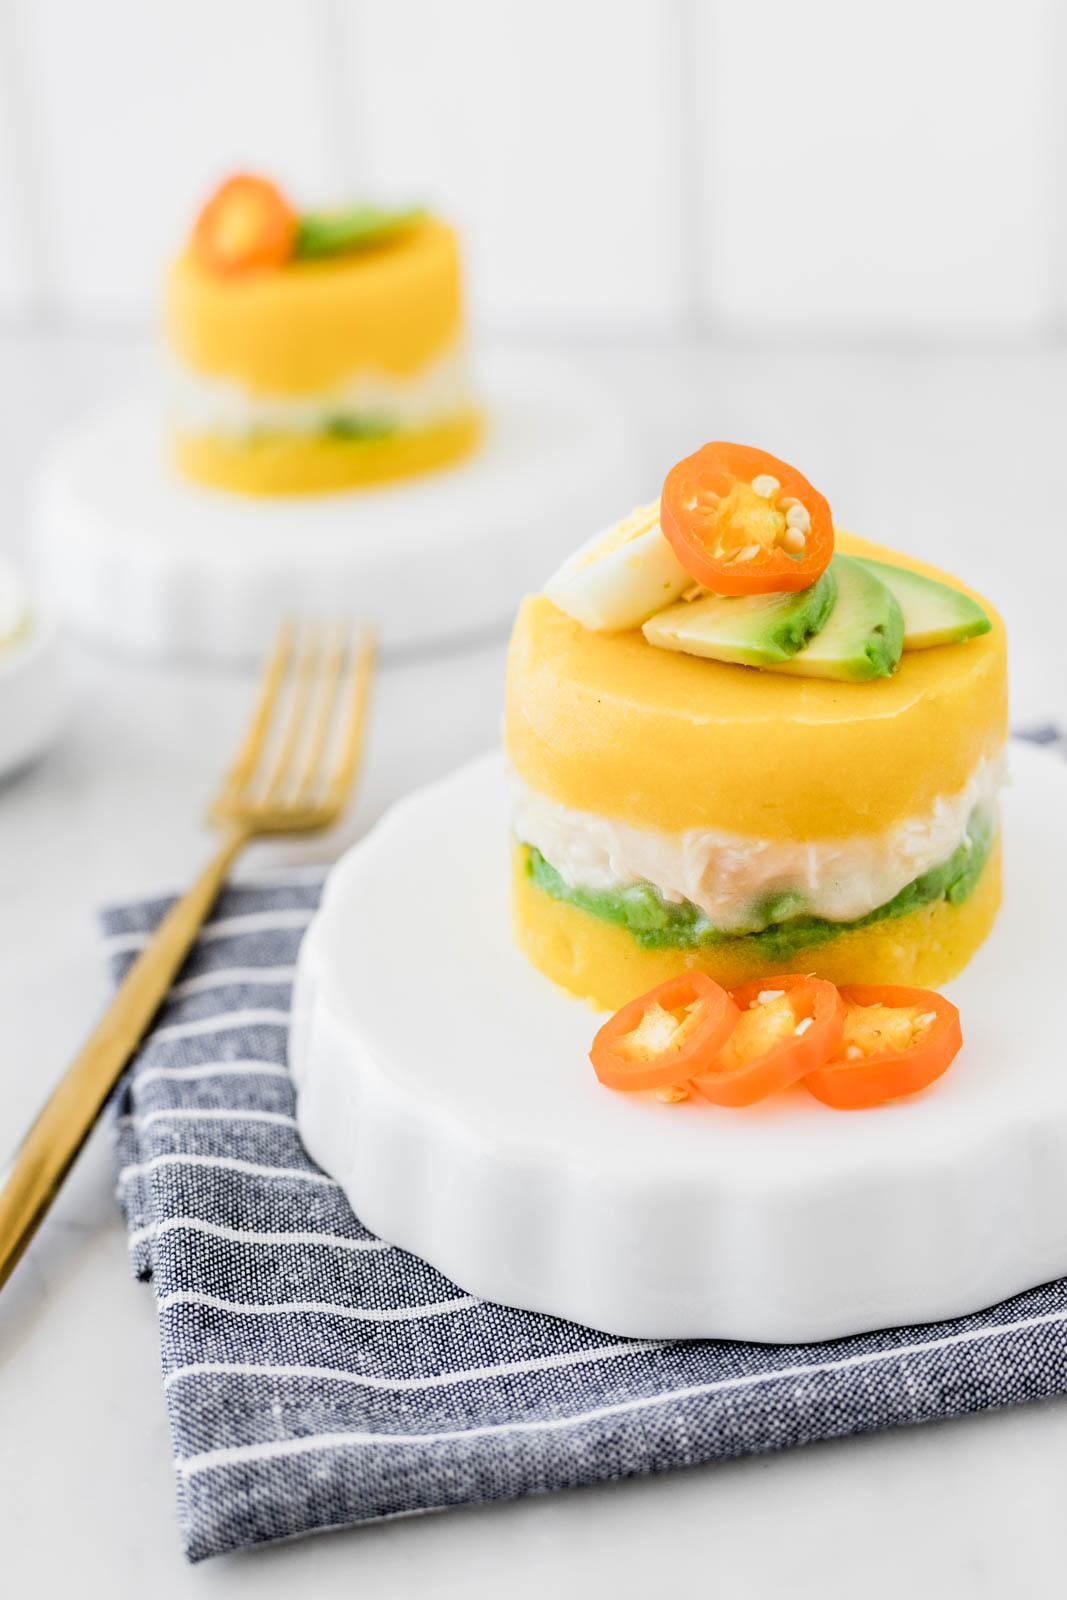

Peruvian "Causa" with Chicken
Ingredients
For the yellow chili paste*
- 500 g Peruvian yellow chili fresh or frozen
- water to cook and blend
For the potato base
- 1 kg Peruvian yellow potato or any potato you can get your hands on
- 4 tbsp canola or vegetable oil
- 2 tbsp lime juice
- 190 g yellow chili paste from above
- salt and pepper to taste
For the chicken layer
- 500 g chicken breast you can also use canned tuna
- 1 egg
- 1/2 tsp Dijon mustard
- 200-400 ml canola or vegetable oil
- drops of lime juice
- Salt and pepper to taste
For the avocado
- 2 avocados
- salt to taste
To garnish
- quail eggs
Instructions
Yellow chili paste
-
Cut and discard the tips off.
-
Cut lengthwise and remove the seeds and veins.
-
Put in a pot with cold water and boil for 10-15min or until you can easily peel the skin off.
-
Take off the water, remove the skin and blend with a minimum amount of water. It's just so your blender can work easily.
-
Use what you need for the recipe and you can freeze the rest for up to 6 months ????
For the potato base
-
If you're using Peruvian yellow potatoes then peel them, remove the dark spots where the roots would grow. Cook in cold water with salt on medium heat. Don't have it on a rolling boil or the outside will disintegrate before the center cooks. We take them out once you can easily pierce them with a knife. Don't let them overcook or they will start to disintegrate. If you're using other type of potato cook it in the oven with the skin on at 200C for 1 hour - 1 hour and a half or until really tender. We do it this way so the final product is as dry as the yellow potato.
-
Pass the potato through a potato ricer while it's still hot (it gets tough when it's cold!)
-
Add all the other ingredients and mix until homogeneous.
For the chicken layer
-
Cook the chicken from cold water on medium-low temperature. Don't let it come to a rolling boil or the meat goes tough. When you cut it and it's no longer pink in the center, you can remove it and pull the meat.
-
For the mayonnaise: whisk the egg with the salt and Dijon mustard until homogeneous. You can also do it in a blender. Add the vegetable oil slowly while whisking constantly. We stop when we like the texture. Finish by adjusting the level of salt, pepper and add a few lime drops.
-
Mi the chicken with the mayonnaise.
Assembly
-
Put a bit of the potato on the base of a large translucent mould (show off your work!) or use individual moulds that you can then unmould.
-
Then goes the chicken and mayo layer.
-
Cut the avocado in slices, put them on top of the chicken and season with salt
-
Finish with another layer of potato and you can garnish on top however you like.
-
You keep it in the fridge but make sure you cling film it on top touching the surface because the top layer of potato dries in the fridge.
Recipe Notes
*You can replace this with the store-bought version (usually easily found online) and the difference is that store-bought is spicy but the homemade version is not.