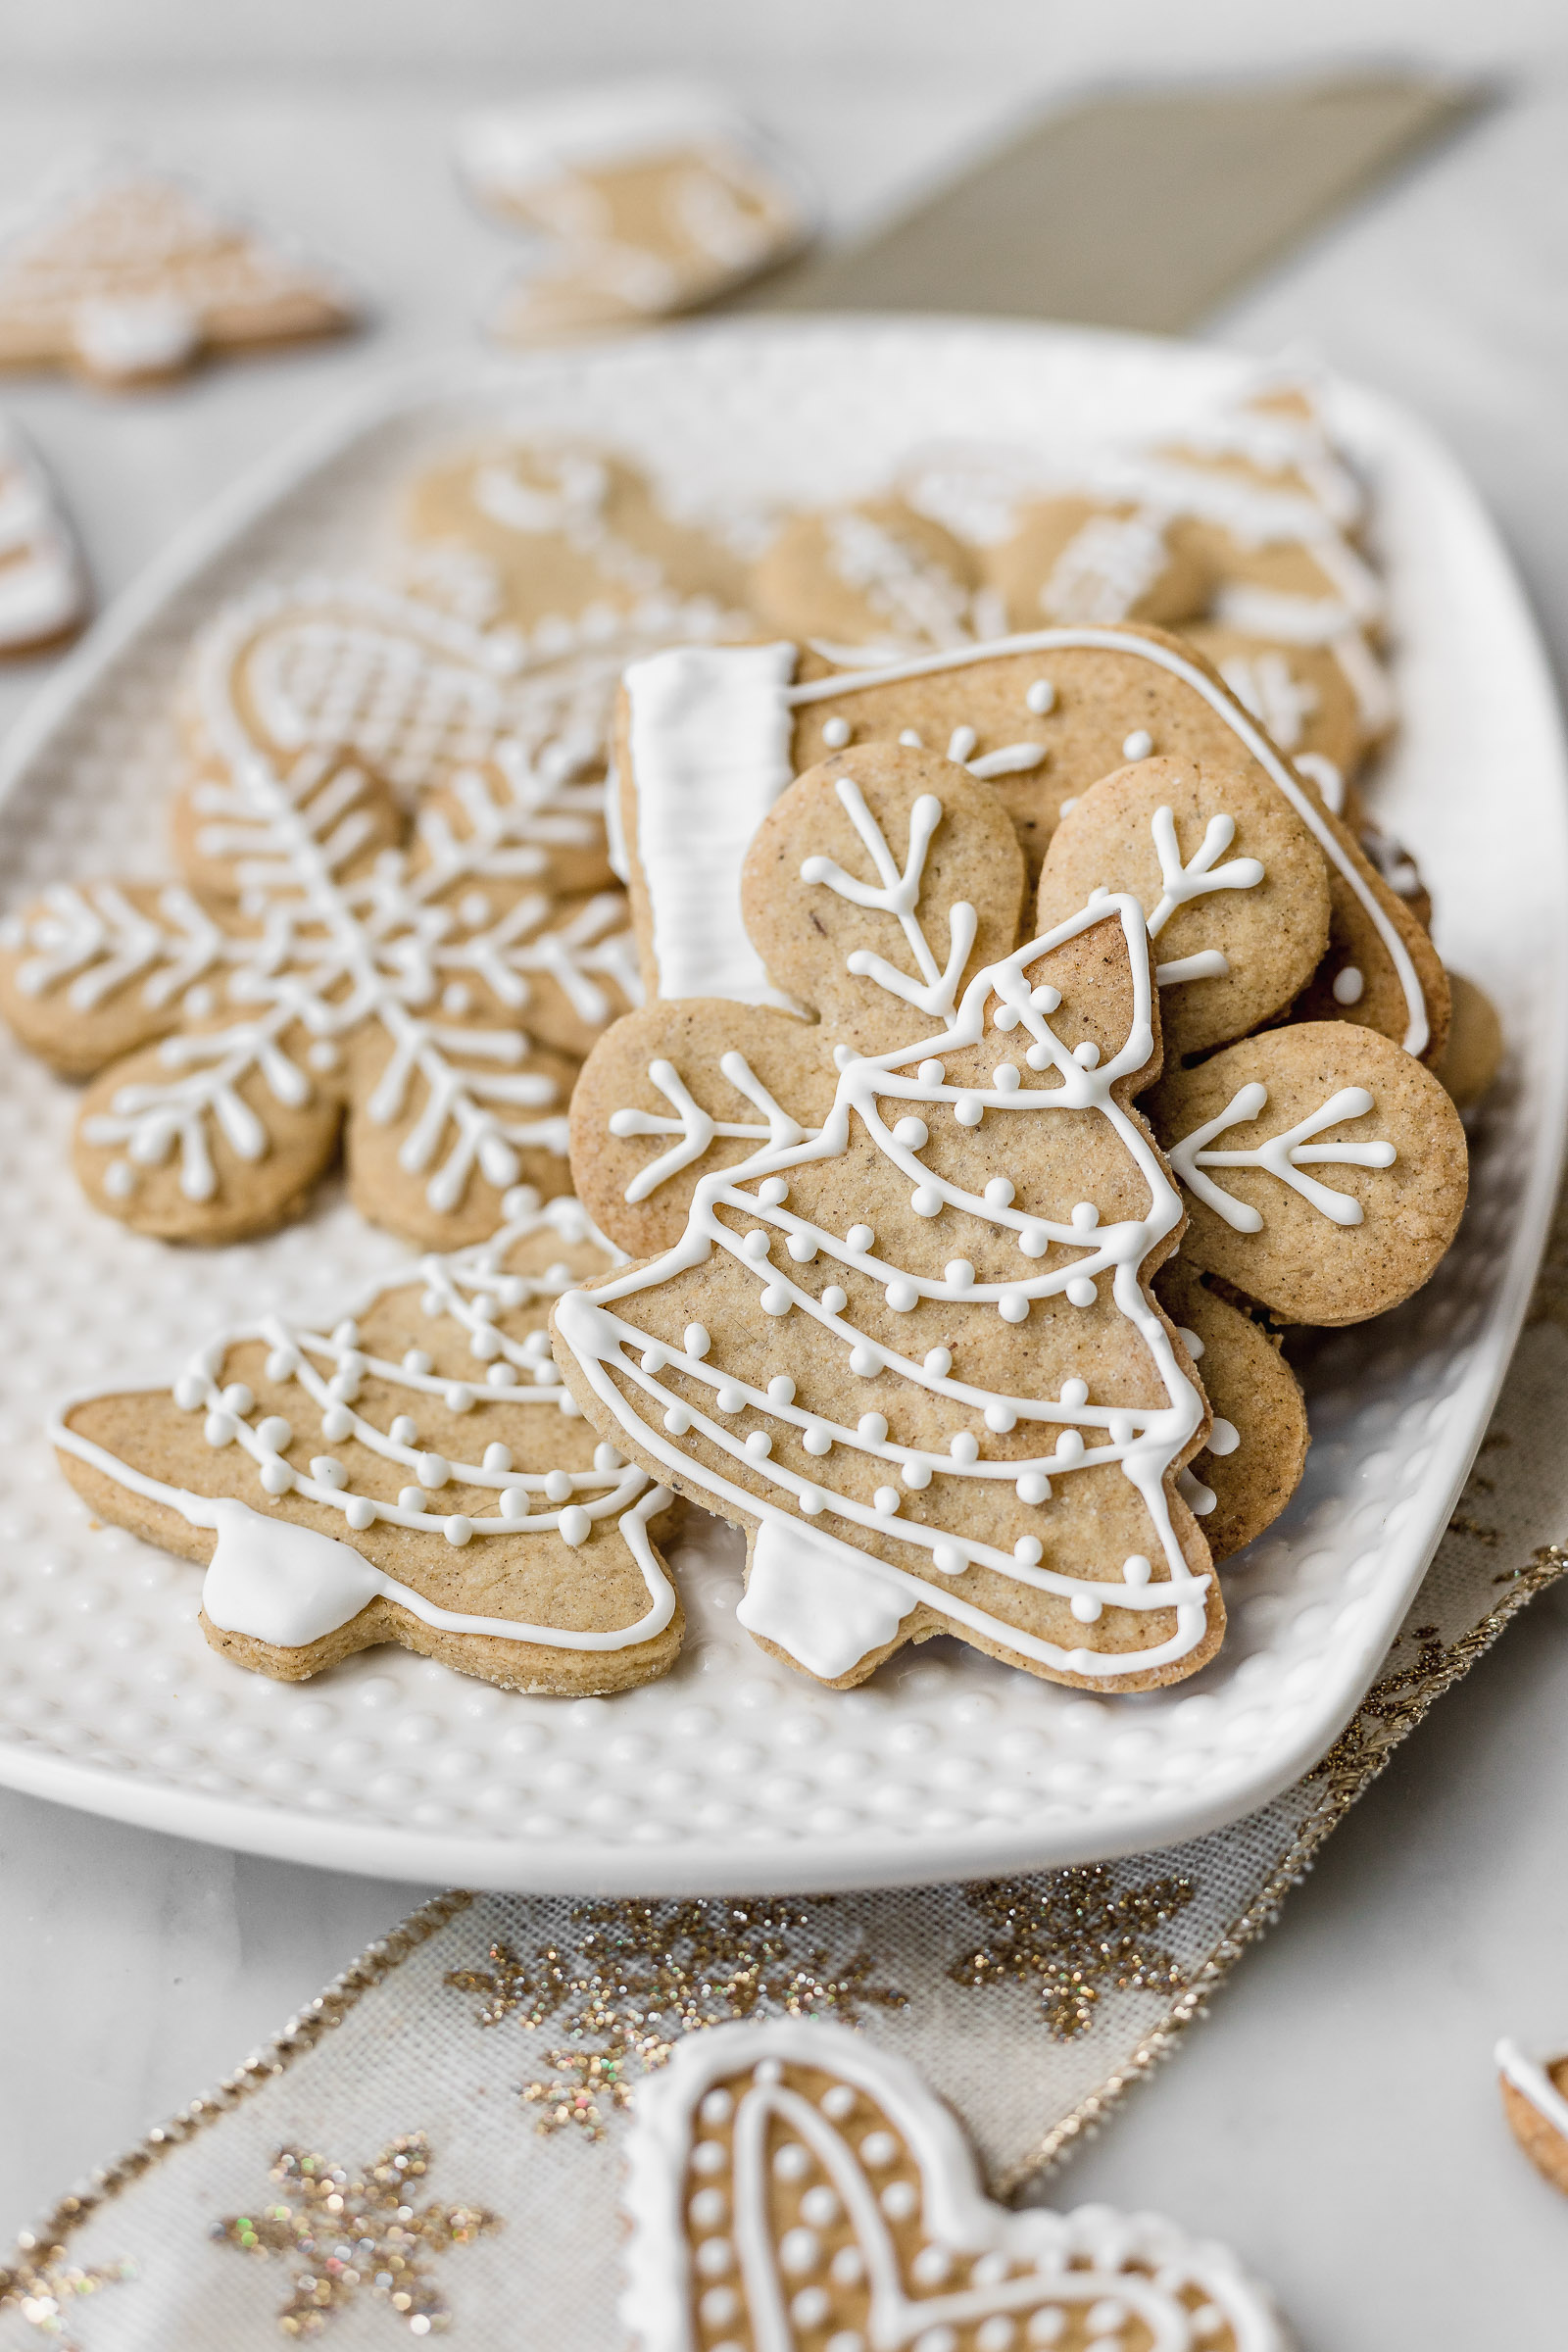
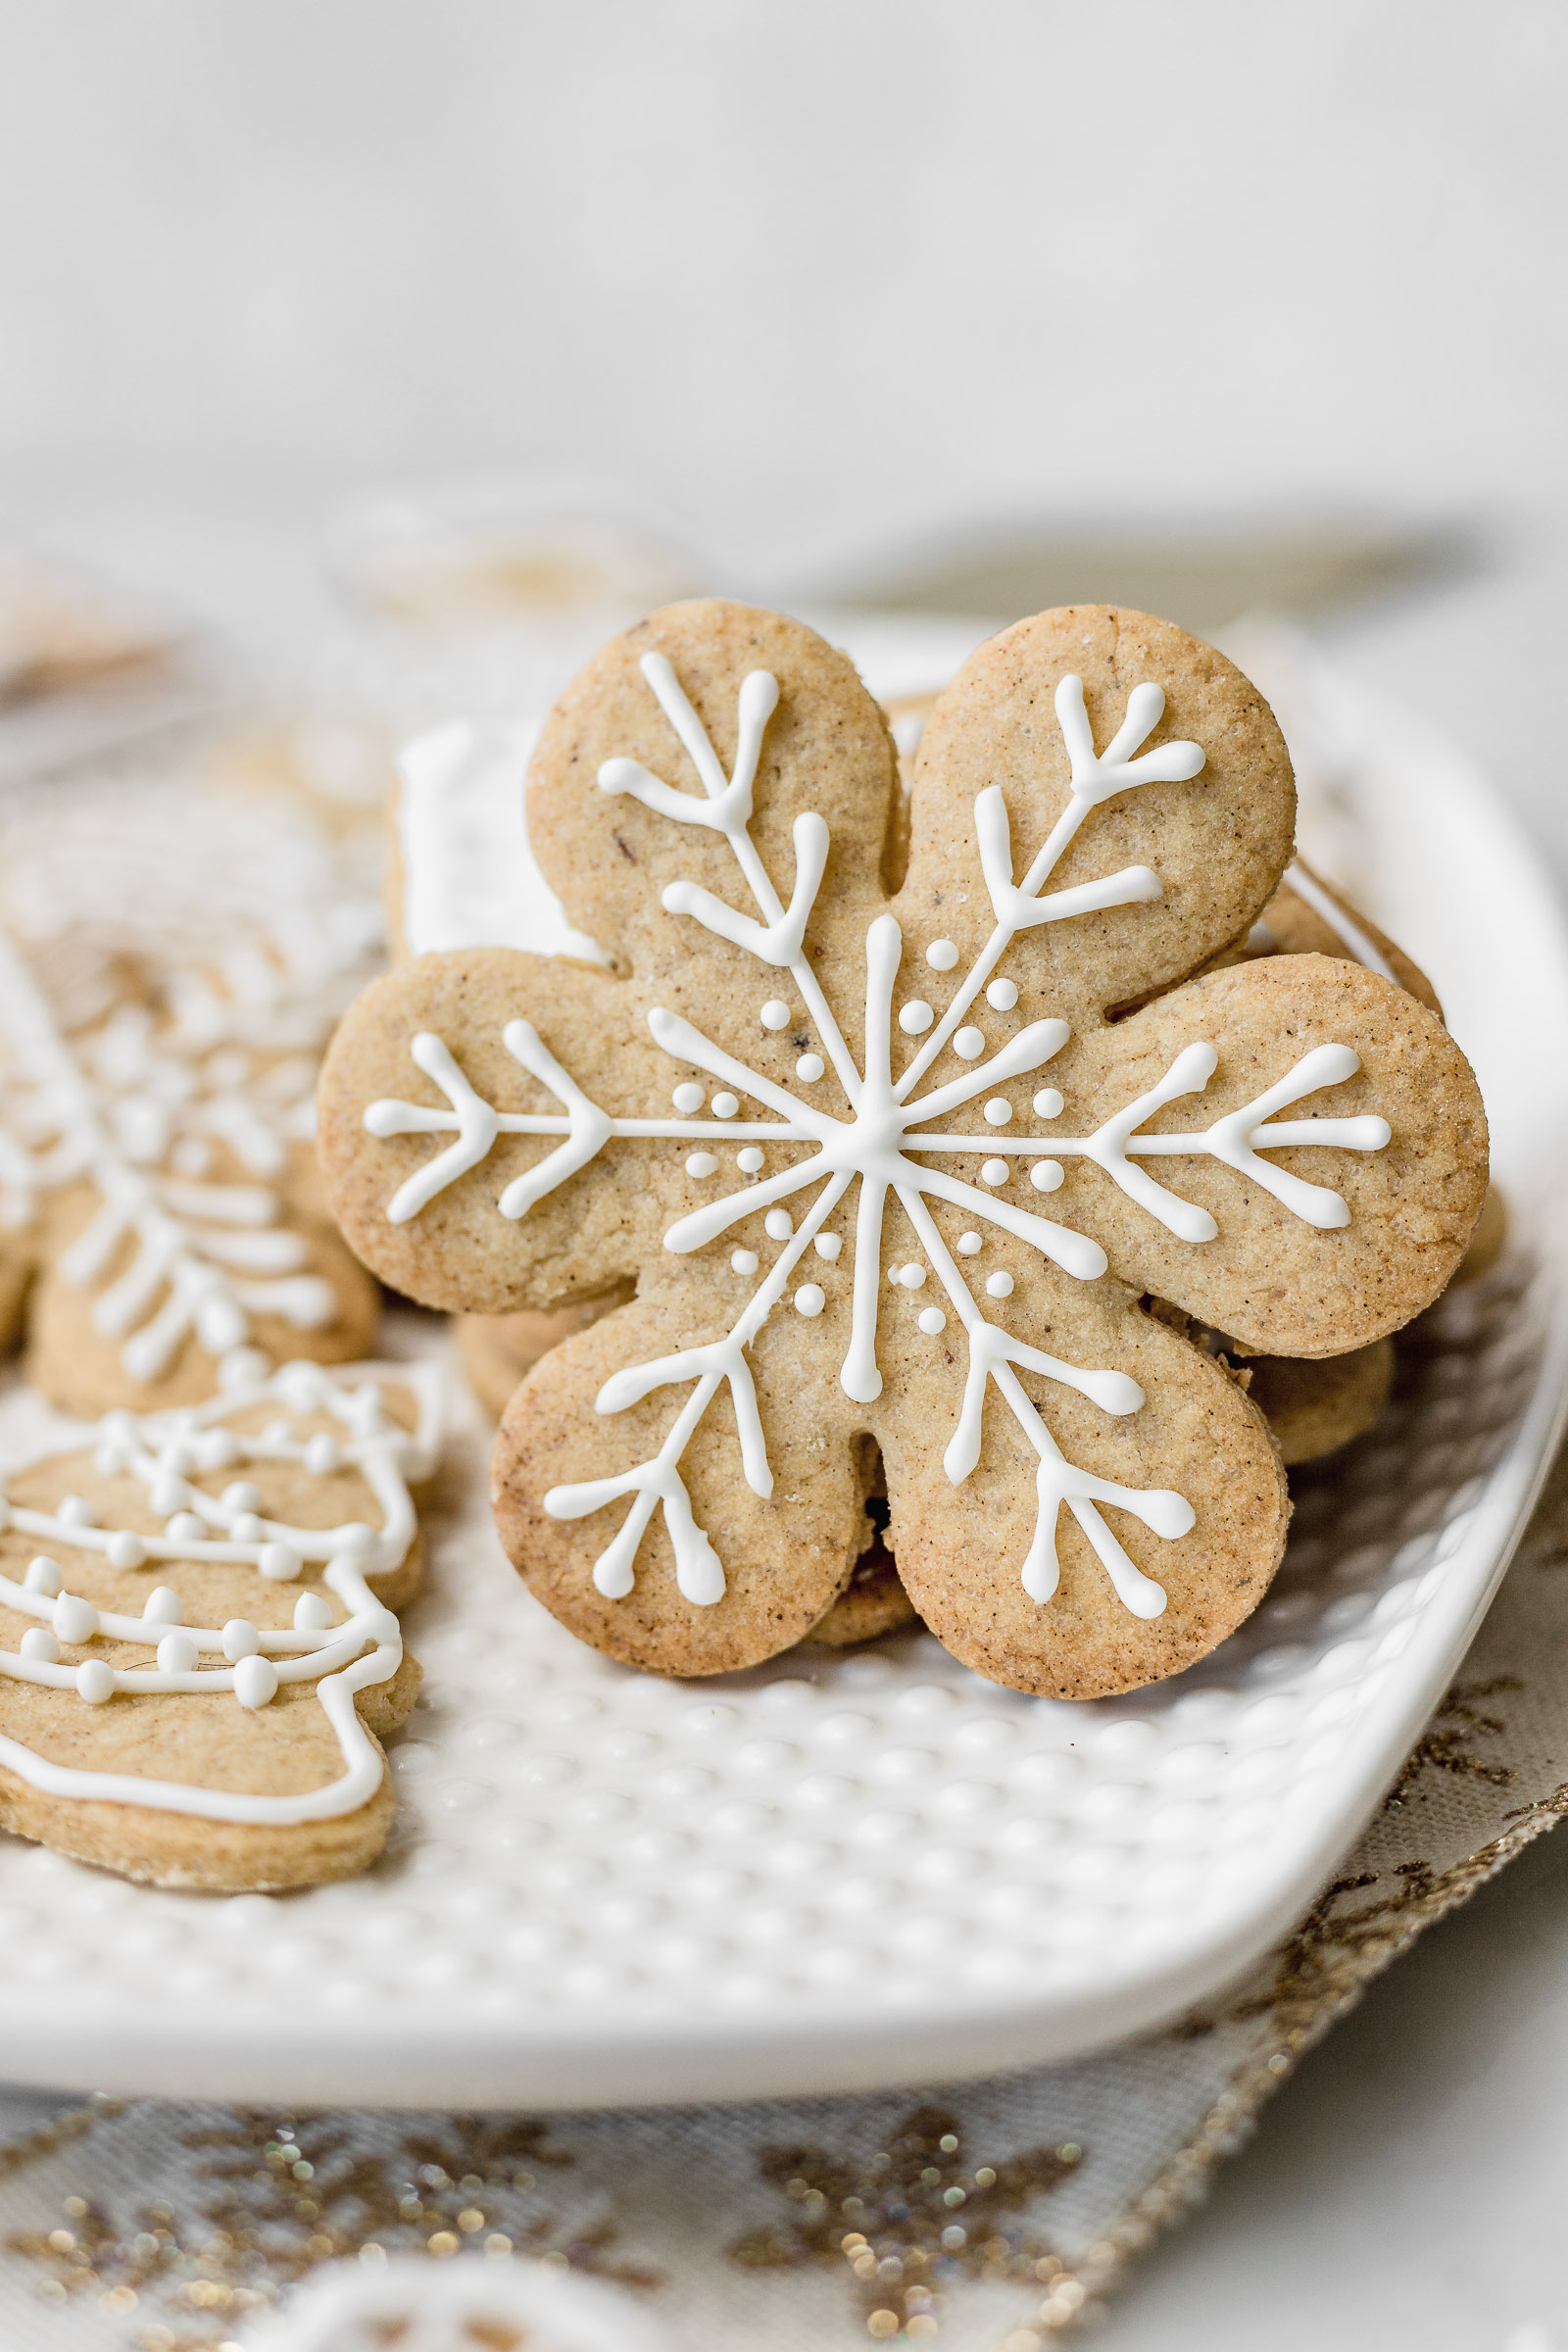
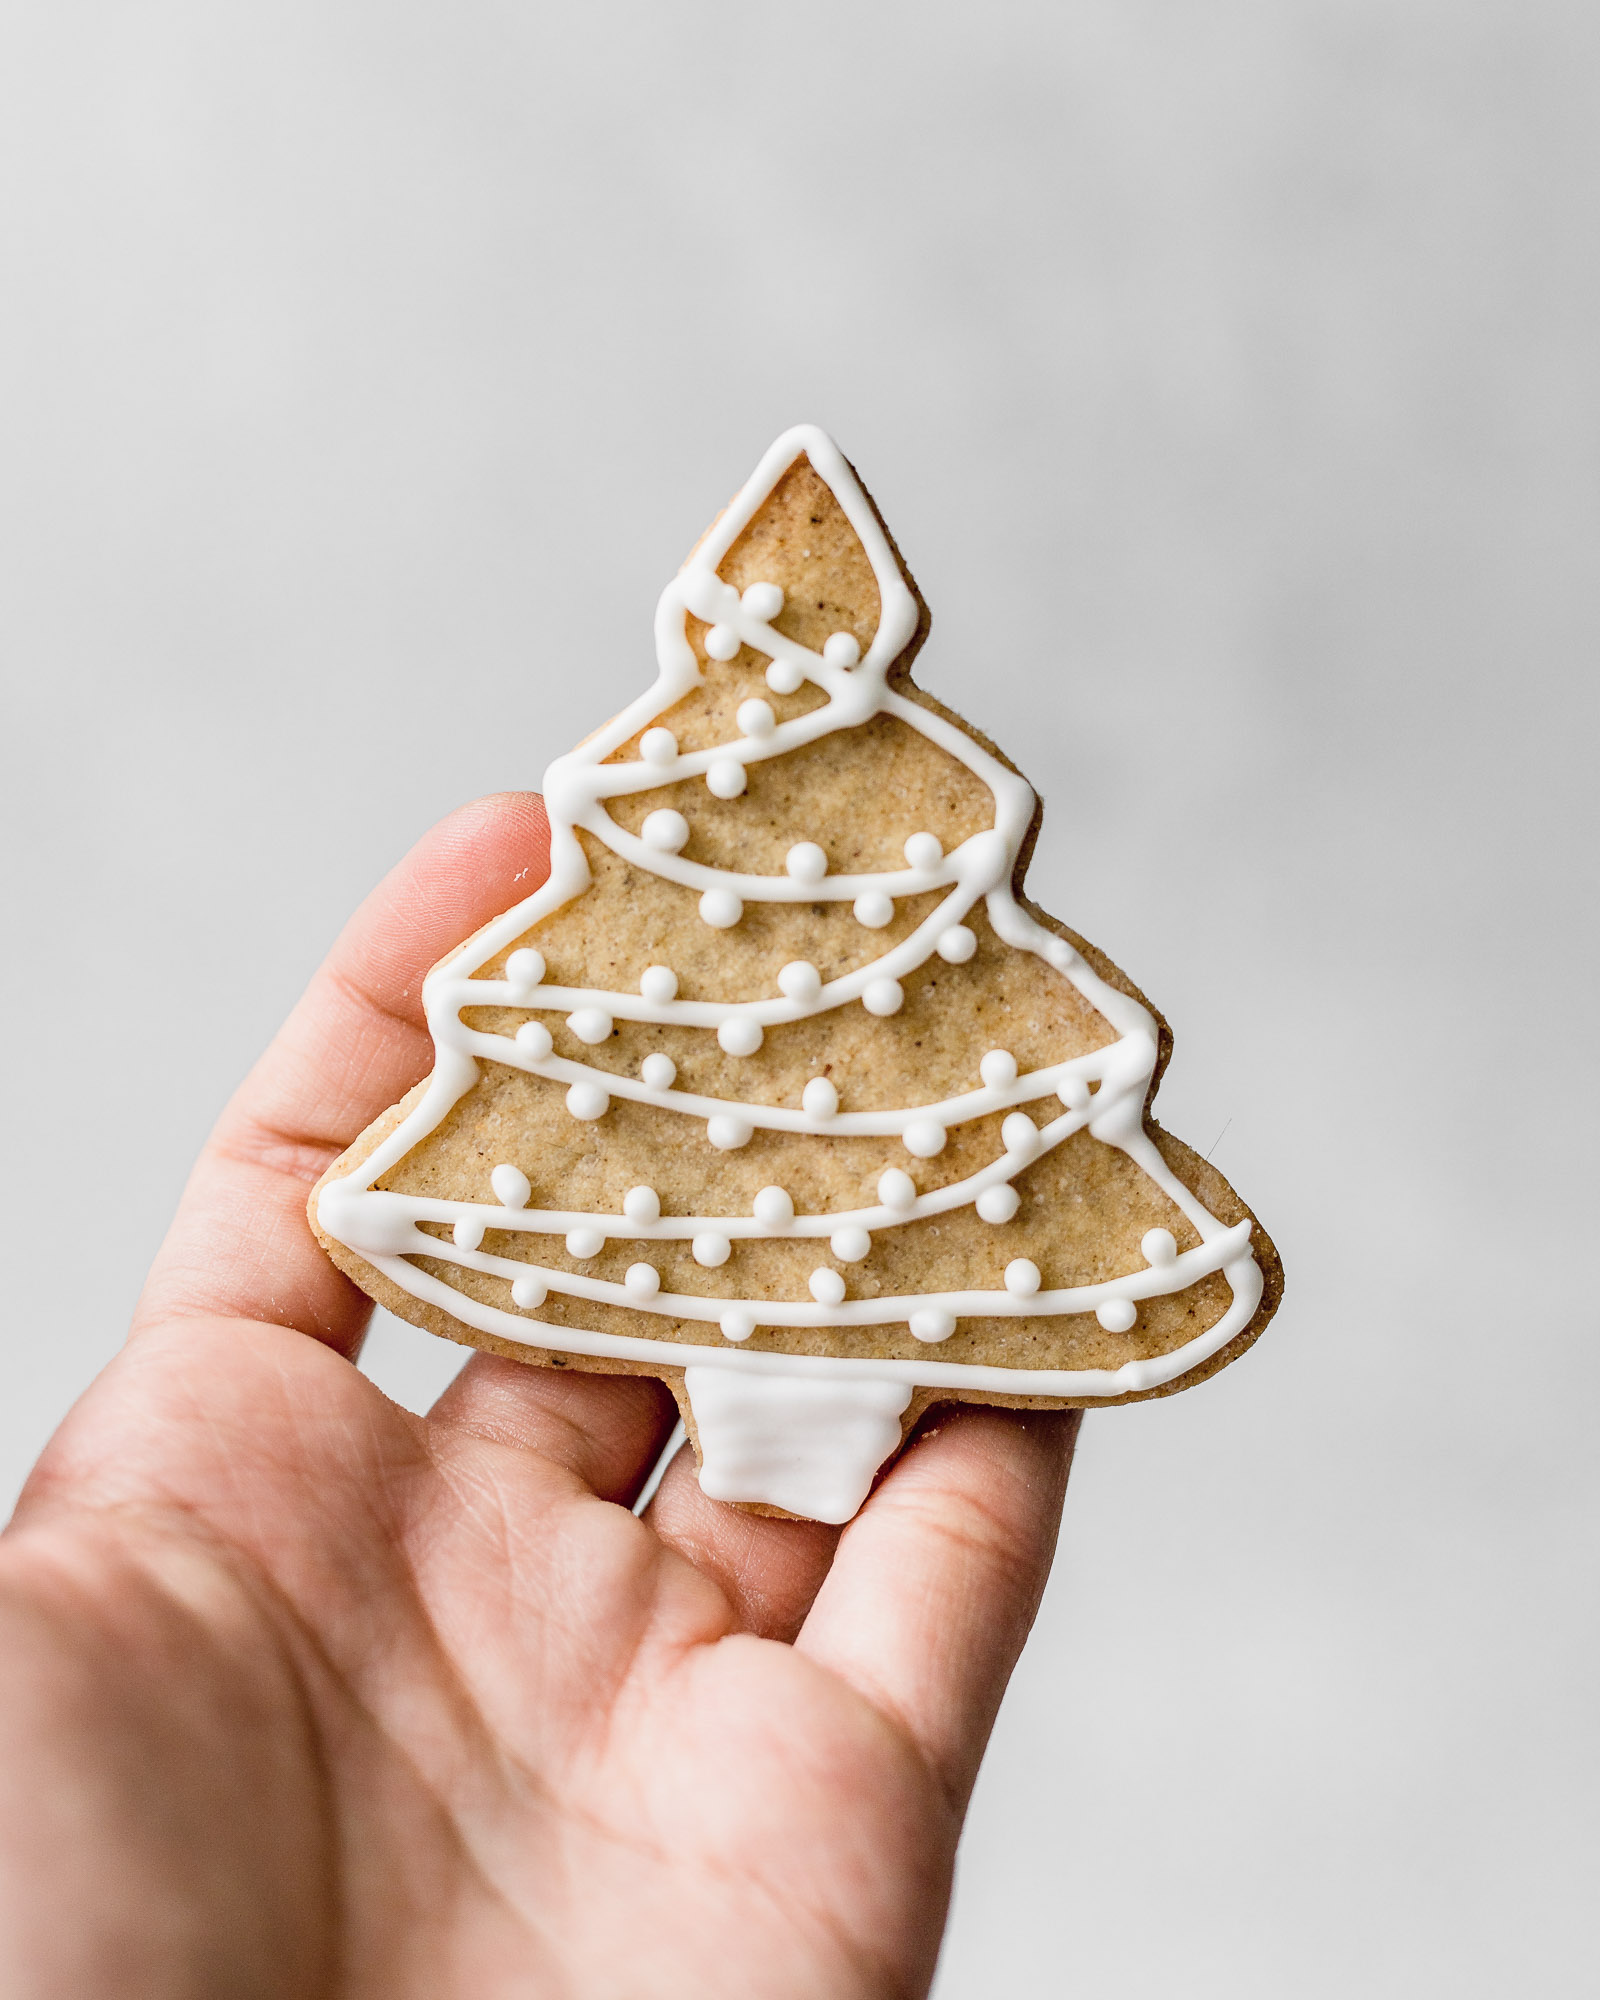
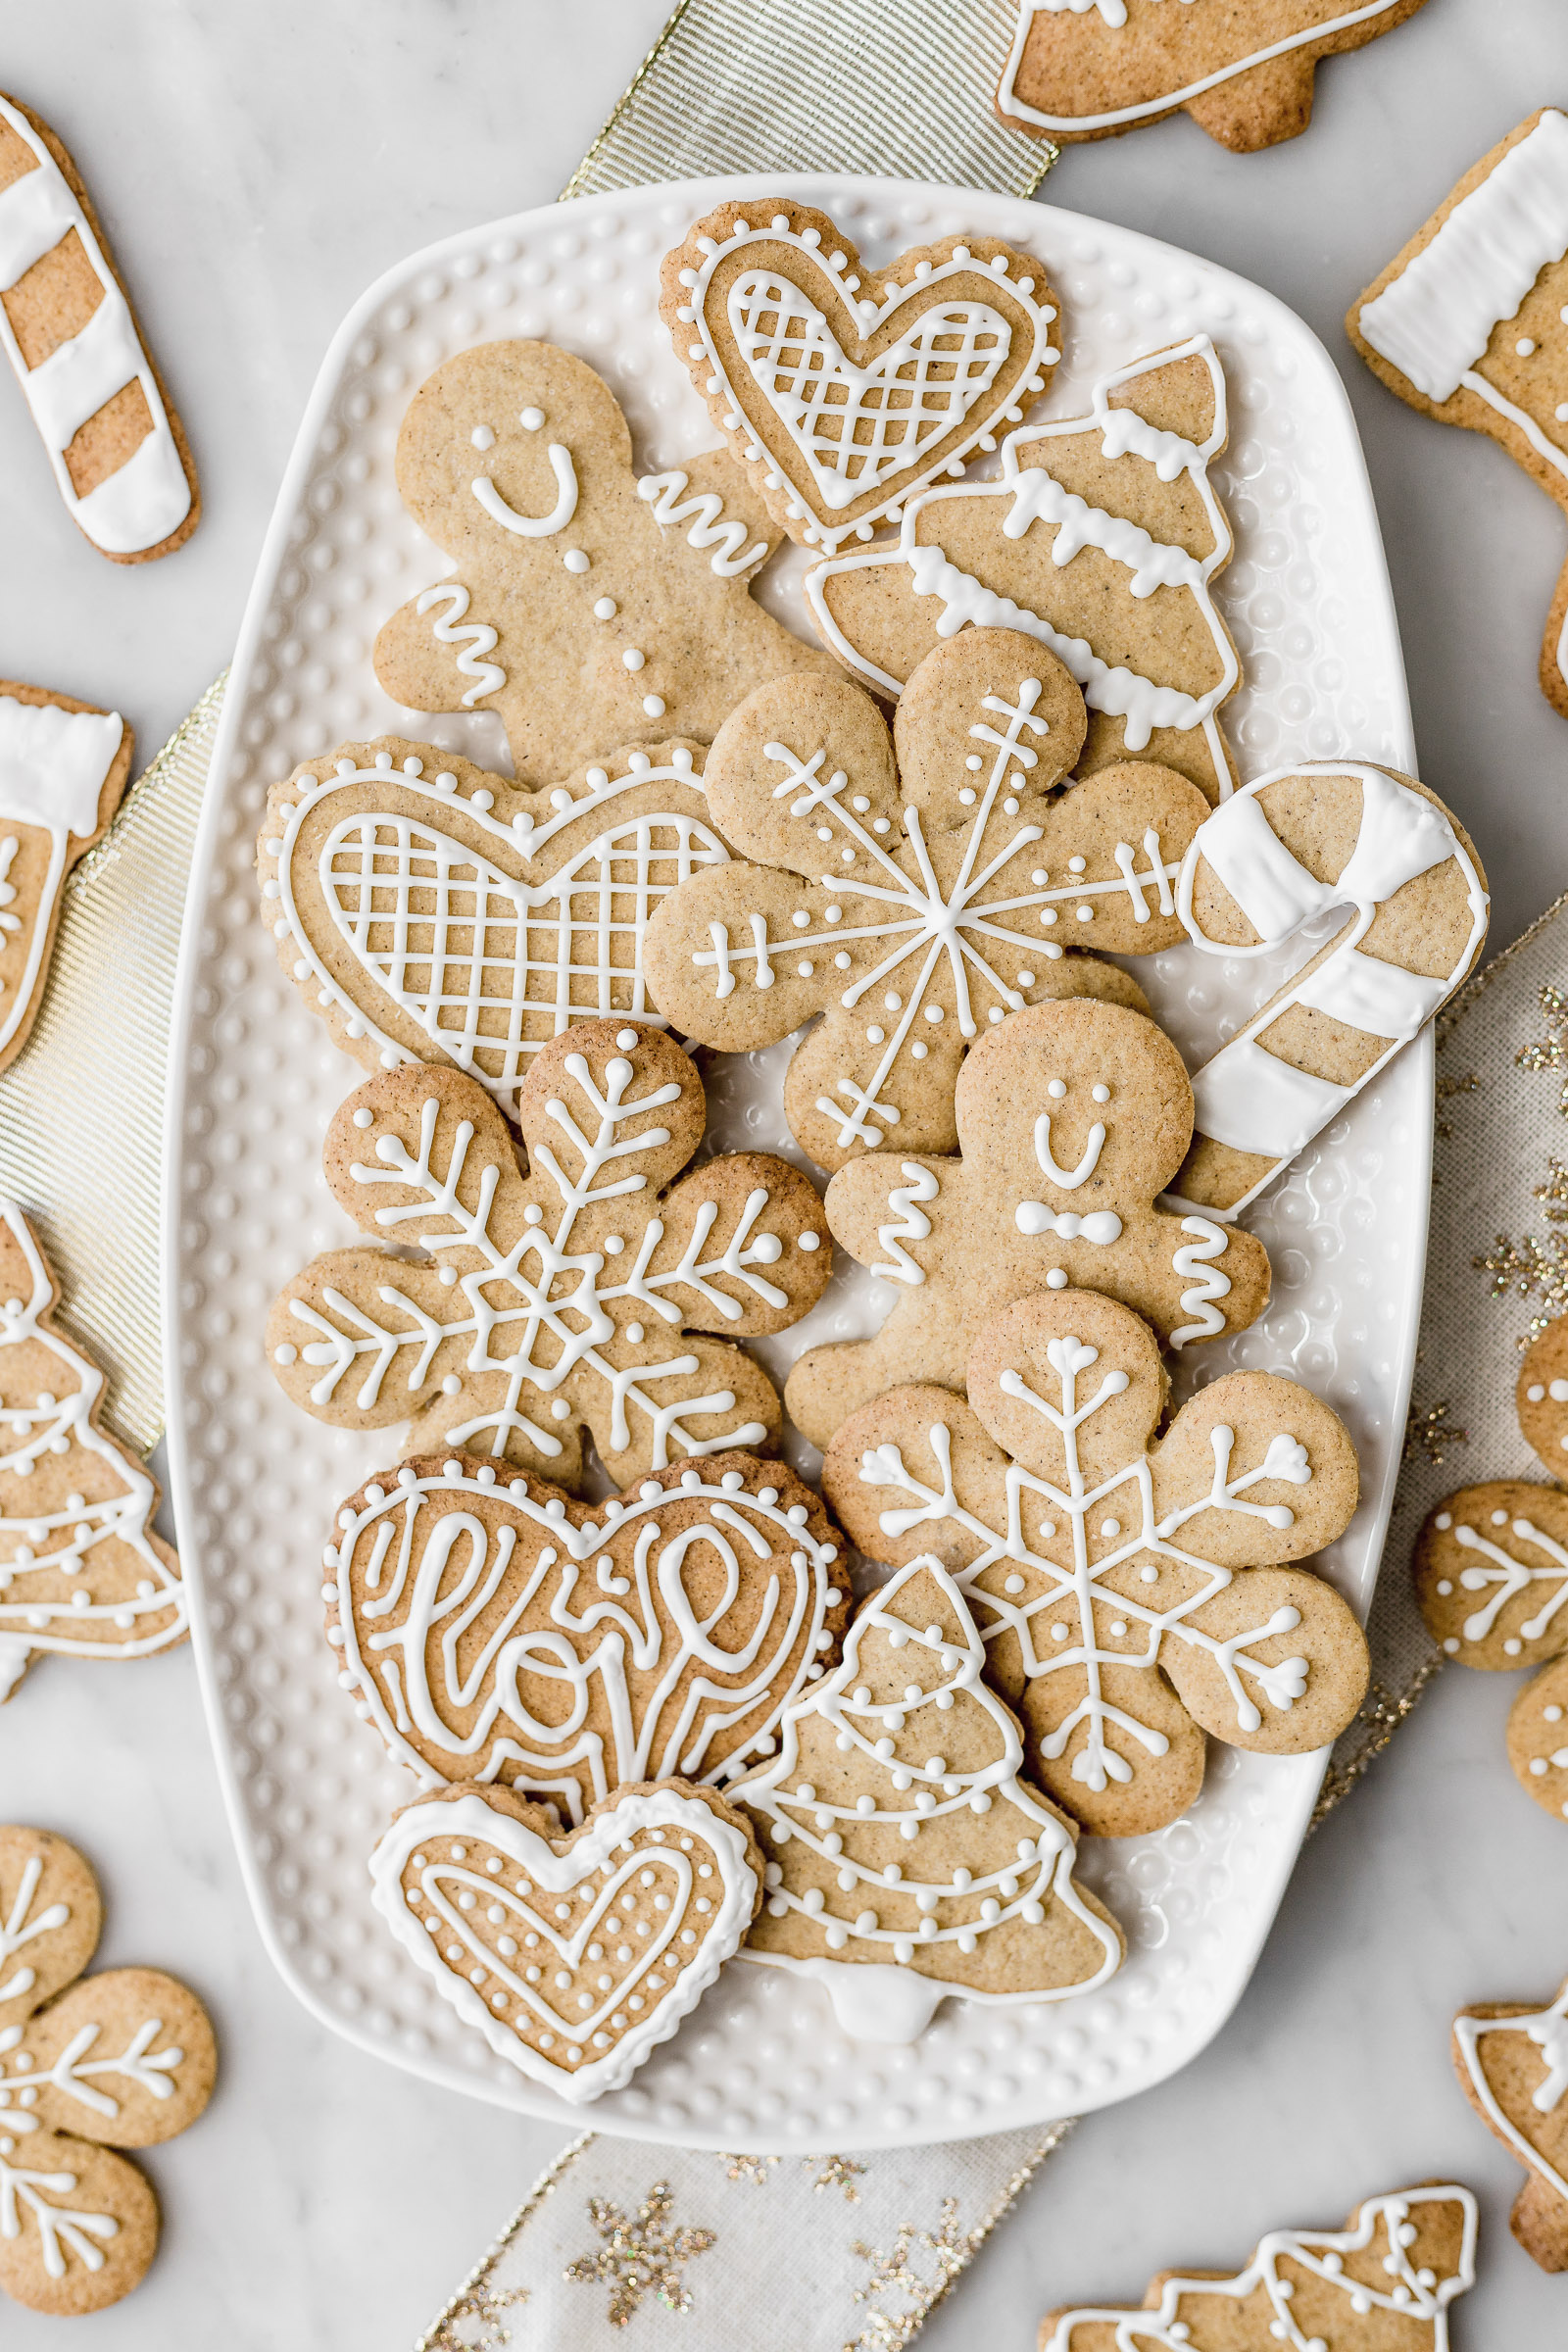
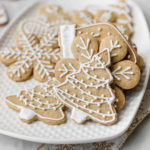
It’s been a while since you guys asked me this much for a recipe! These decorated Christmas Cookies arrive to the blog because you asked for it. I know that many of you need this recipe to sell, other because you just like to decorate and of course to make with kids.
Decorated Christmas Cookies
These decorated Christmas cookies are really delicious. They’re not gingerbread cookies because here in Latin America it’s really hard (almost impossible) to find molasses, which is a by-product in the manufacturing of sugar and a really important ingredient in gingerbread cookies. Since I live in Chile, I think you get the idea, lol. Instead, I made delicious sugar cookies with spices <3.

Still, I have to say that these cookies are drop-dead good. They have a lot of flavour and become a bit addictive, lol. Today, actually, I took them to a friend’s house, and when I arrived she said she’s not a decorated cookie fan. Fast forward 5 minutes and she had eaten five already. I also like this less over the top glazing because you can actually taste the cookie underneath.
Royal icing
When I was a child, I would make decorated Christmas cookies with a simple glaze of icing sugar and water or lemon juice. However, that glaze is reaaaaally hard to use and my cookies ended up looking like art nouveau, lol. Royal icing is made using egg whites and icing sugar. The egg whites make it SO much easier to work with and they also dry nicer.

This recipe uses raw egg whites which means there’s a small risk it contains bacteria. How much of a risk? The same amount as when you eat a classic tiramisu, raw cookie dough, runny-yolked eggs or most chocolate mousse. The thing that is almost impossible is for the royal icing to get any bacteria once it dries. This is because it becomes really hard, ruling out the humidity factor that bacterias need to grow. Also, the sugar content is so high that they wouldn’t survive. Actually, it’s likely that the cookie will go bad before the icing does.

Egg pasteurization
Now, if the egg white is a factor that’s worrisome to you, you can pasteurize the egg. This is done by placing room temperature eggs in room temperature water. You place the pot over medium heat and make it come up to 60°C / 140°F and stay there for 3 minutes. It cannot go higher than that or the egg white will start to coagulate. Then you remove them from the water and can be used to make your royal icing. Alternatively, you can buy pasteurized egg whites in a speciality shop.
Decorated Christmas Cookies
Ingredients
For the cookies
- 110 g unsalted butter soft, at room temperature
- 150 g granulated sugar
- 1 egg
- 1 tsp vanilla extract
- 1 tsp ginger powder
- ½ tsp ground cinnamon
- 1/8 tsp ground cloves
- 1 tsp salt
- 1 1/2 tsp baking powder
- 250 g all-purpose flour + more to dust the surface for rolling
For the royal icing
- 2 egg whites
- 400 g icing sugar + about 200g more to adjust the consistency
- liquid or gel food colouring
Instructions
For the cookies
-
Use a whisk to beat the butter, sugar and salt together until you have a creamy consistency.
-
Add the egg and mix it in until fully incorporated.
-
Add the vanilla and spices and mix once again.
-
Add the flour and baking powder and mix using a spatula. Once the spatula isn't helping anymore, knead slightly with your hands.
-
Cover the dough and place in the fridge for 30 minutes.
-
If your dough has been in the fridge for more than 30 minutes, it's possible that you will have to wait a few minutes for it to come back to room temperature before rolling it out to prevent it from breaking. Roll out the dough on a floured surface until it's 2-3mm thick. Use cookie cutters to cut the dough into shapes.
-
Use a thin metal spatula to lift out the cookies from the surface.
-
Place the cookies on a non-stick baking tray. If your tray is not non-stick, line it with baking paper or silpat first.
-
Bake the cookies in a preheated oven at 180°C / 350°F for 8-12 minutes or until slightly golden.
-
Let them cool down completely before decorating or the royal icing will melt.
For the royal icing
-
Place the egg whites in a bowl and add the icing sugar through a sieve or colander.
-
Beat them until they come together, then adjust the texture. To see if it's at a good texture, make a line or dot on a dish or piece of paper. It shouldn't spread out but also, it should be easy to use. If you see that your icing is too hard, you can add a bit of water or lemon at a time. If it's too hard, you can add more icing sugar, always through a sieve or colander.
-
If you're not going to use the icing sugar immediately, place 2 layers of wet kitchen paper on top of it, touching the surface of the royal icing.
-
Once you're ready to use it, assess the thickness once again and adjust if needed. Remember that if you're using food colouring, these will thin out the icing.
-
Place your royal icing in a piping bag fitted with a small nozzle (it works a lot better than just cutting off the tip of a piping bag).
-
To decorate, squeeze on the piping bag slowly but at the same rate and let the string of icing drop onto the cookie. The tip of the nozzle should be around 3mm above the cookie so that you place the string of icing as it falls. I only make the nozzle come closer to the cookie whenever I'm done with a stroke or need it to stick to another line I made. You can correct and smooth out lines and textures using a toothpick.
-
Everything that you draw while the icing is fresh, it will stick to itself when they meet. Thus, you want to give it 5-10 minutes sometimes to dry out before you make a second round of decorations to prevent them from sticking together. The same goes if you want your cookies to have a solid colour background. In this case, you draw the outline, fill it in with more icing and then let it dry. Once dry, you can add more details on top.
