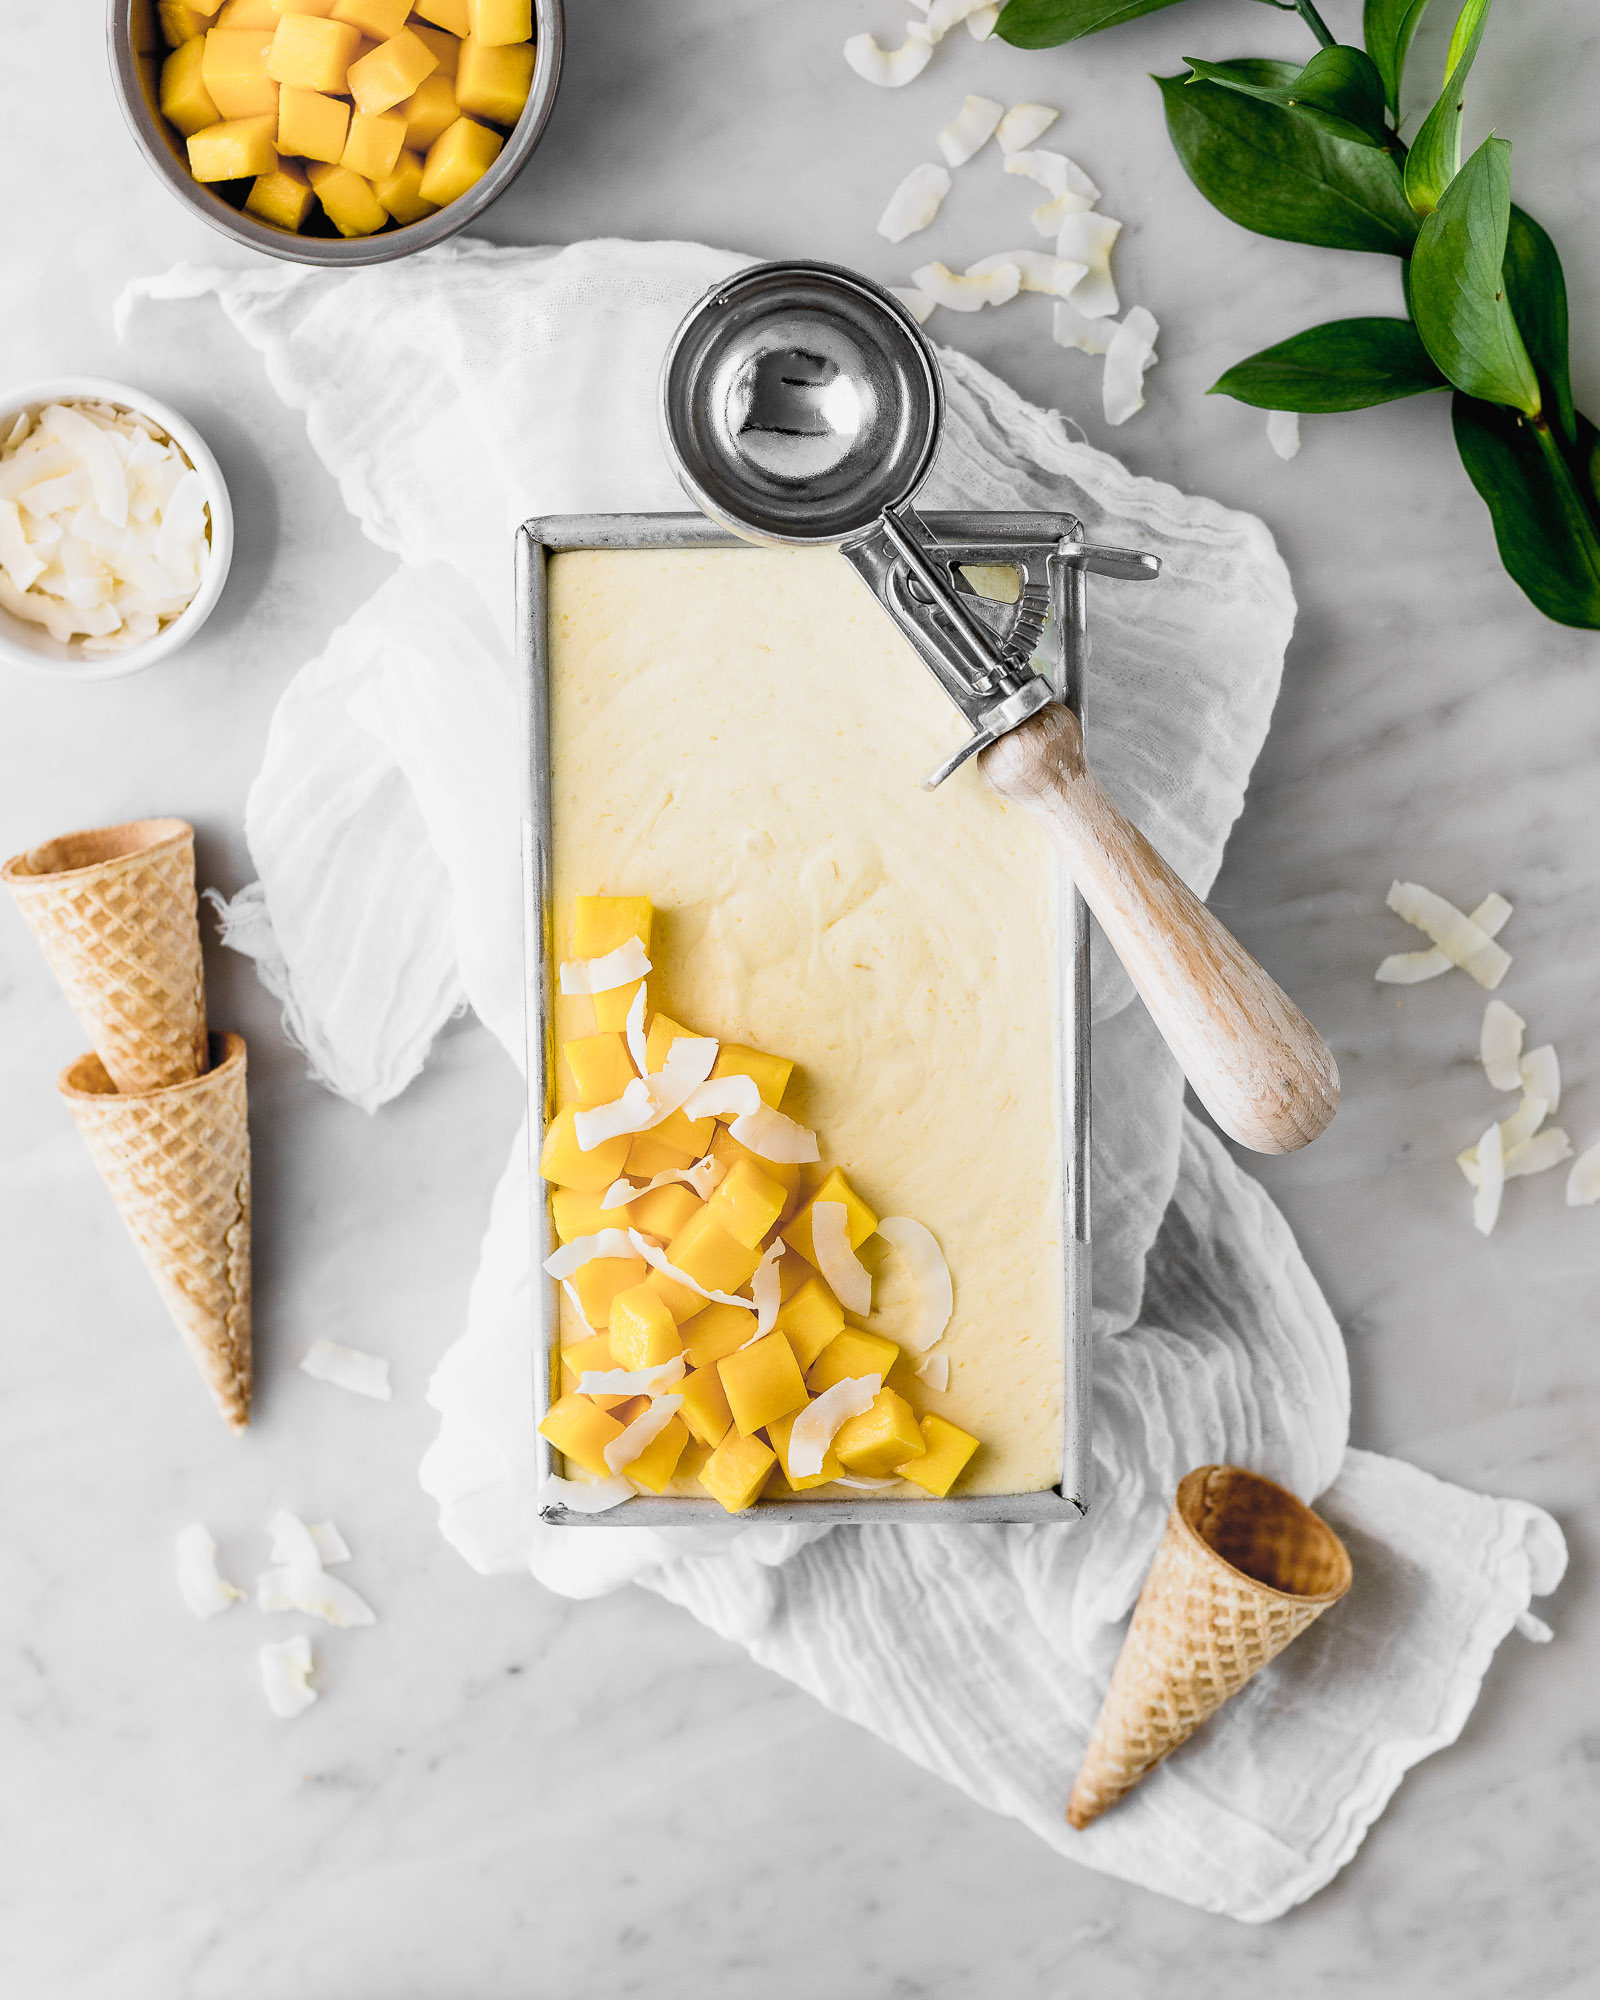
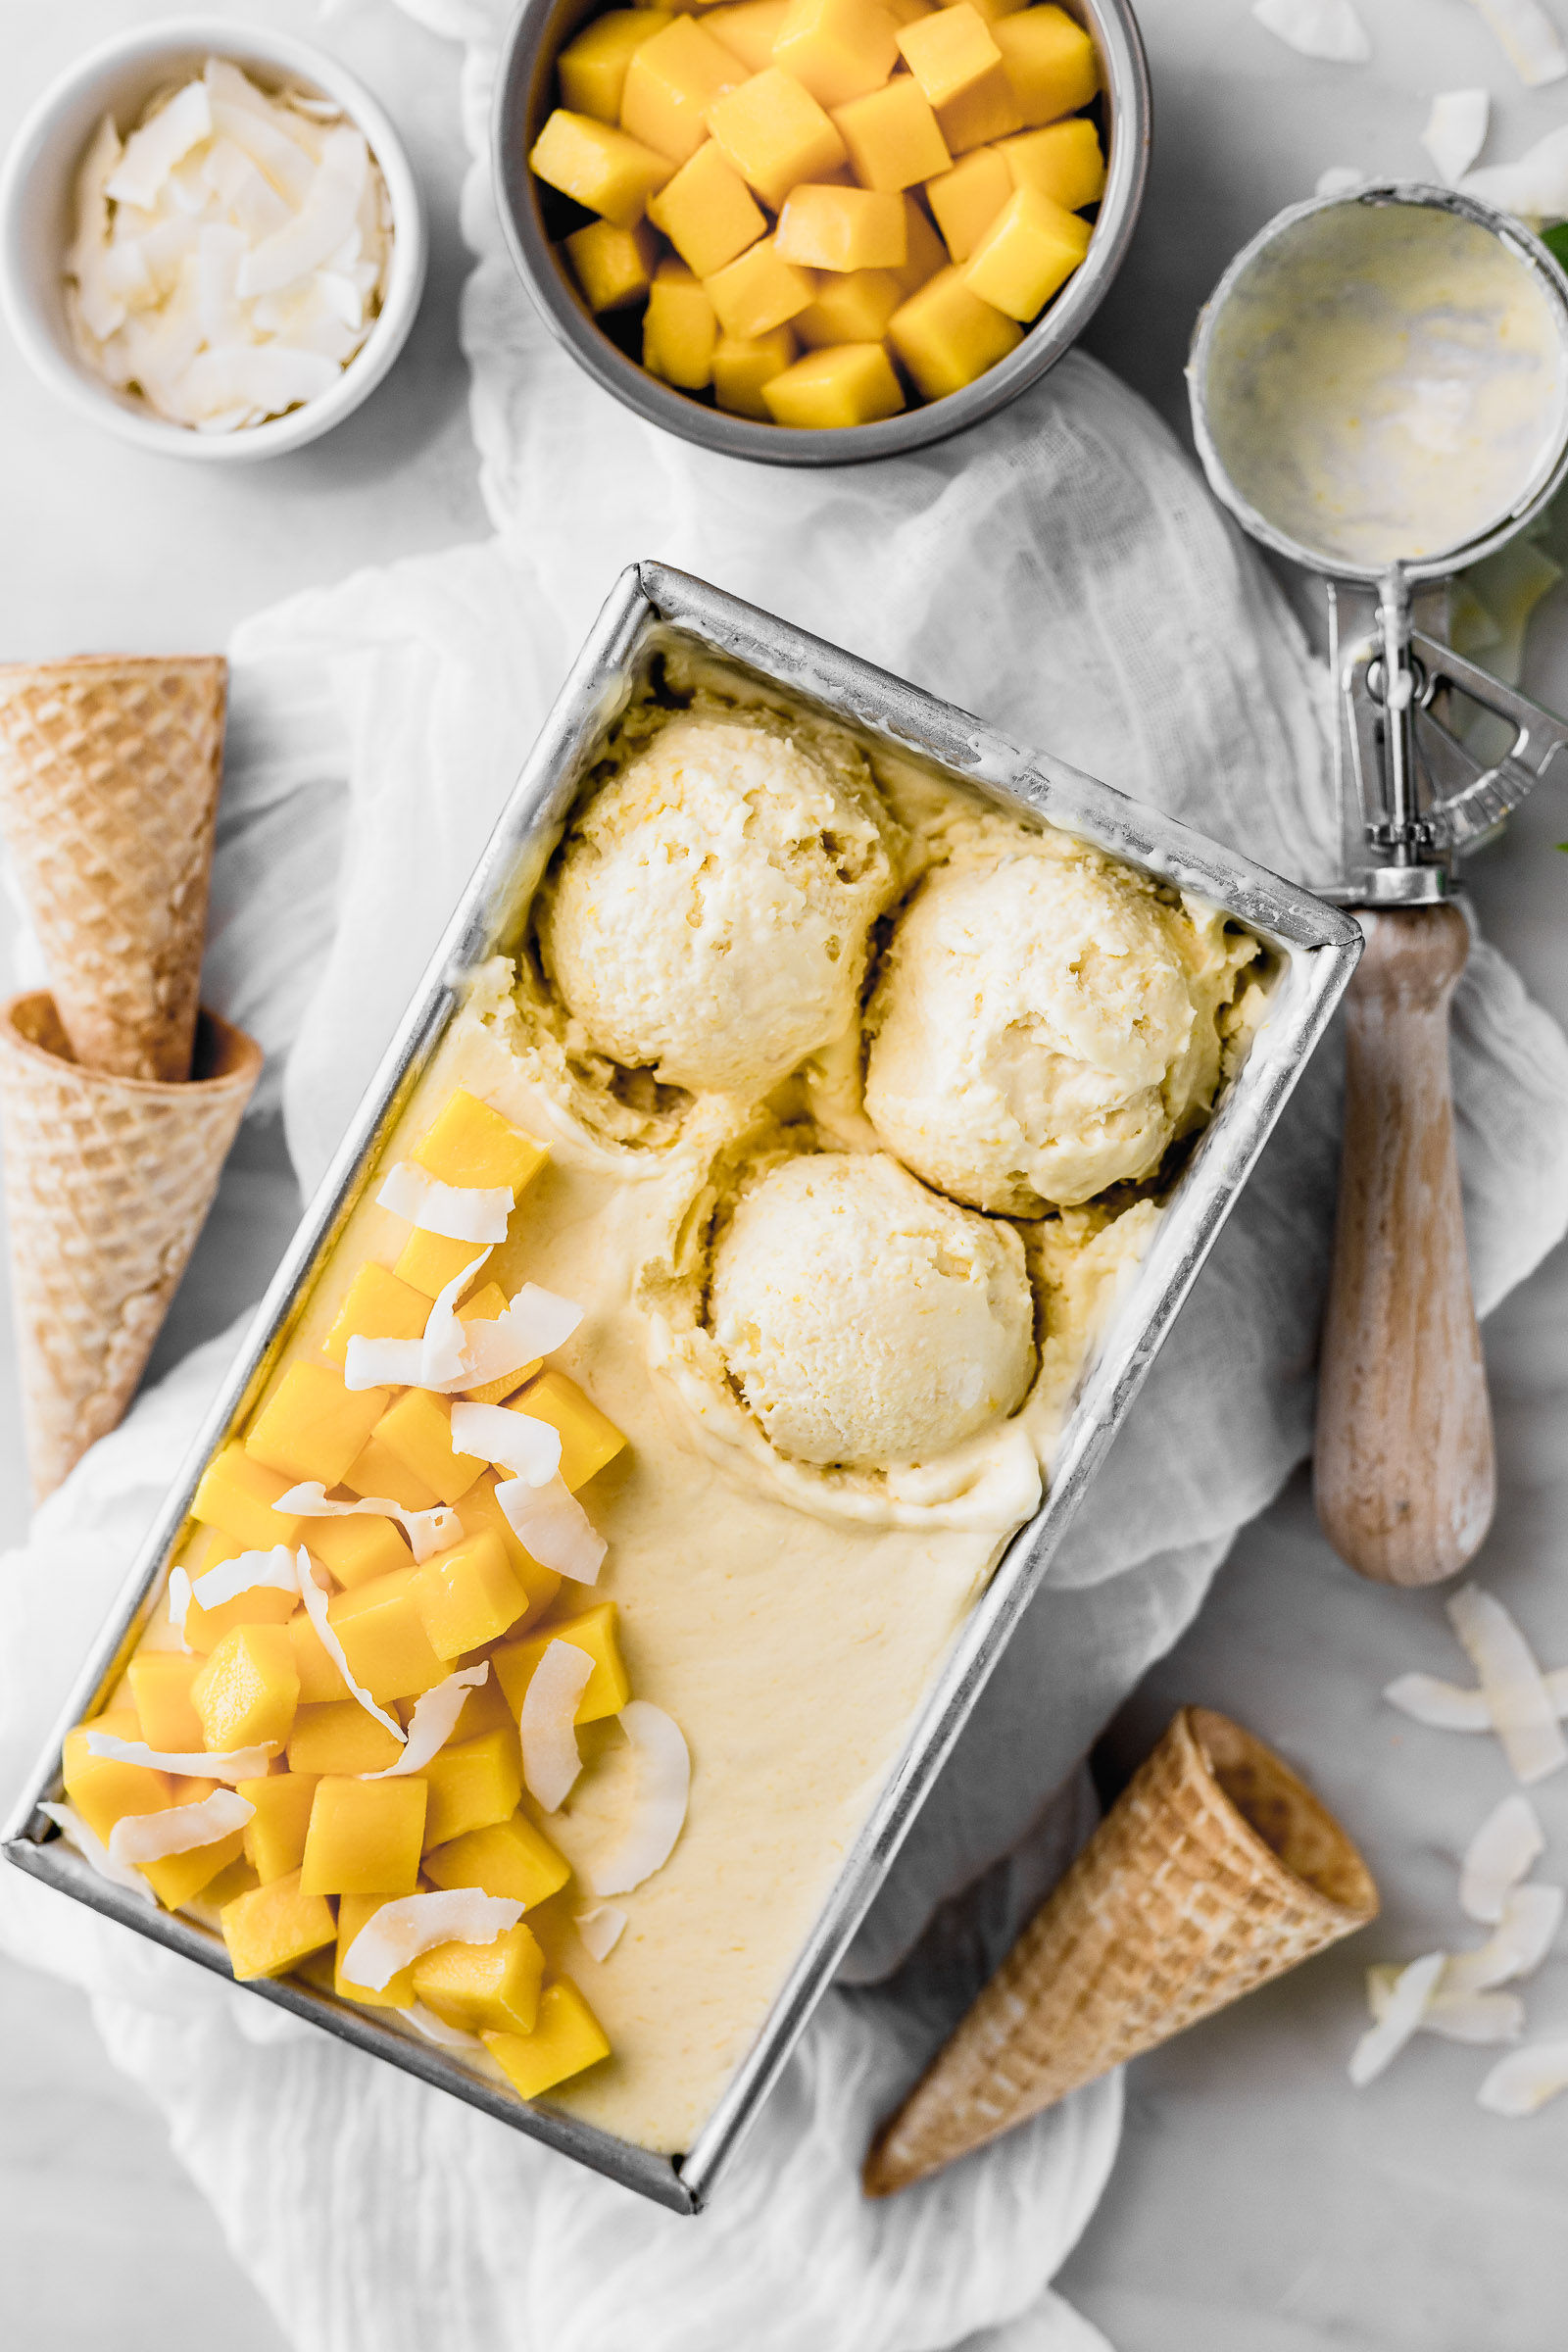
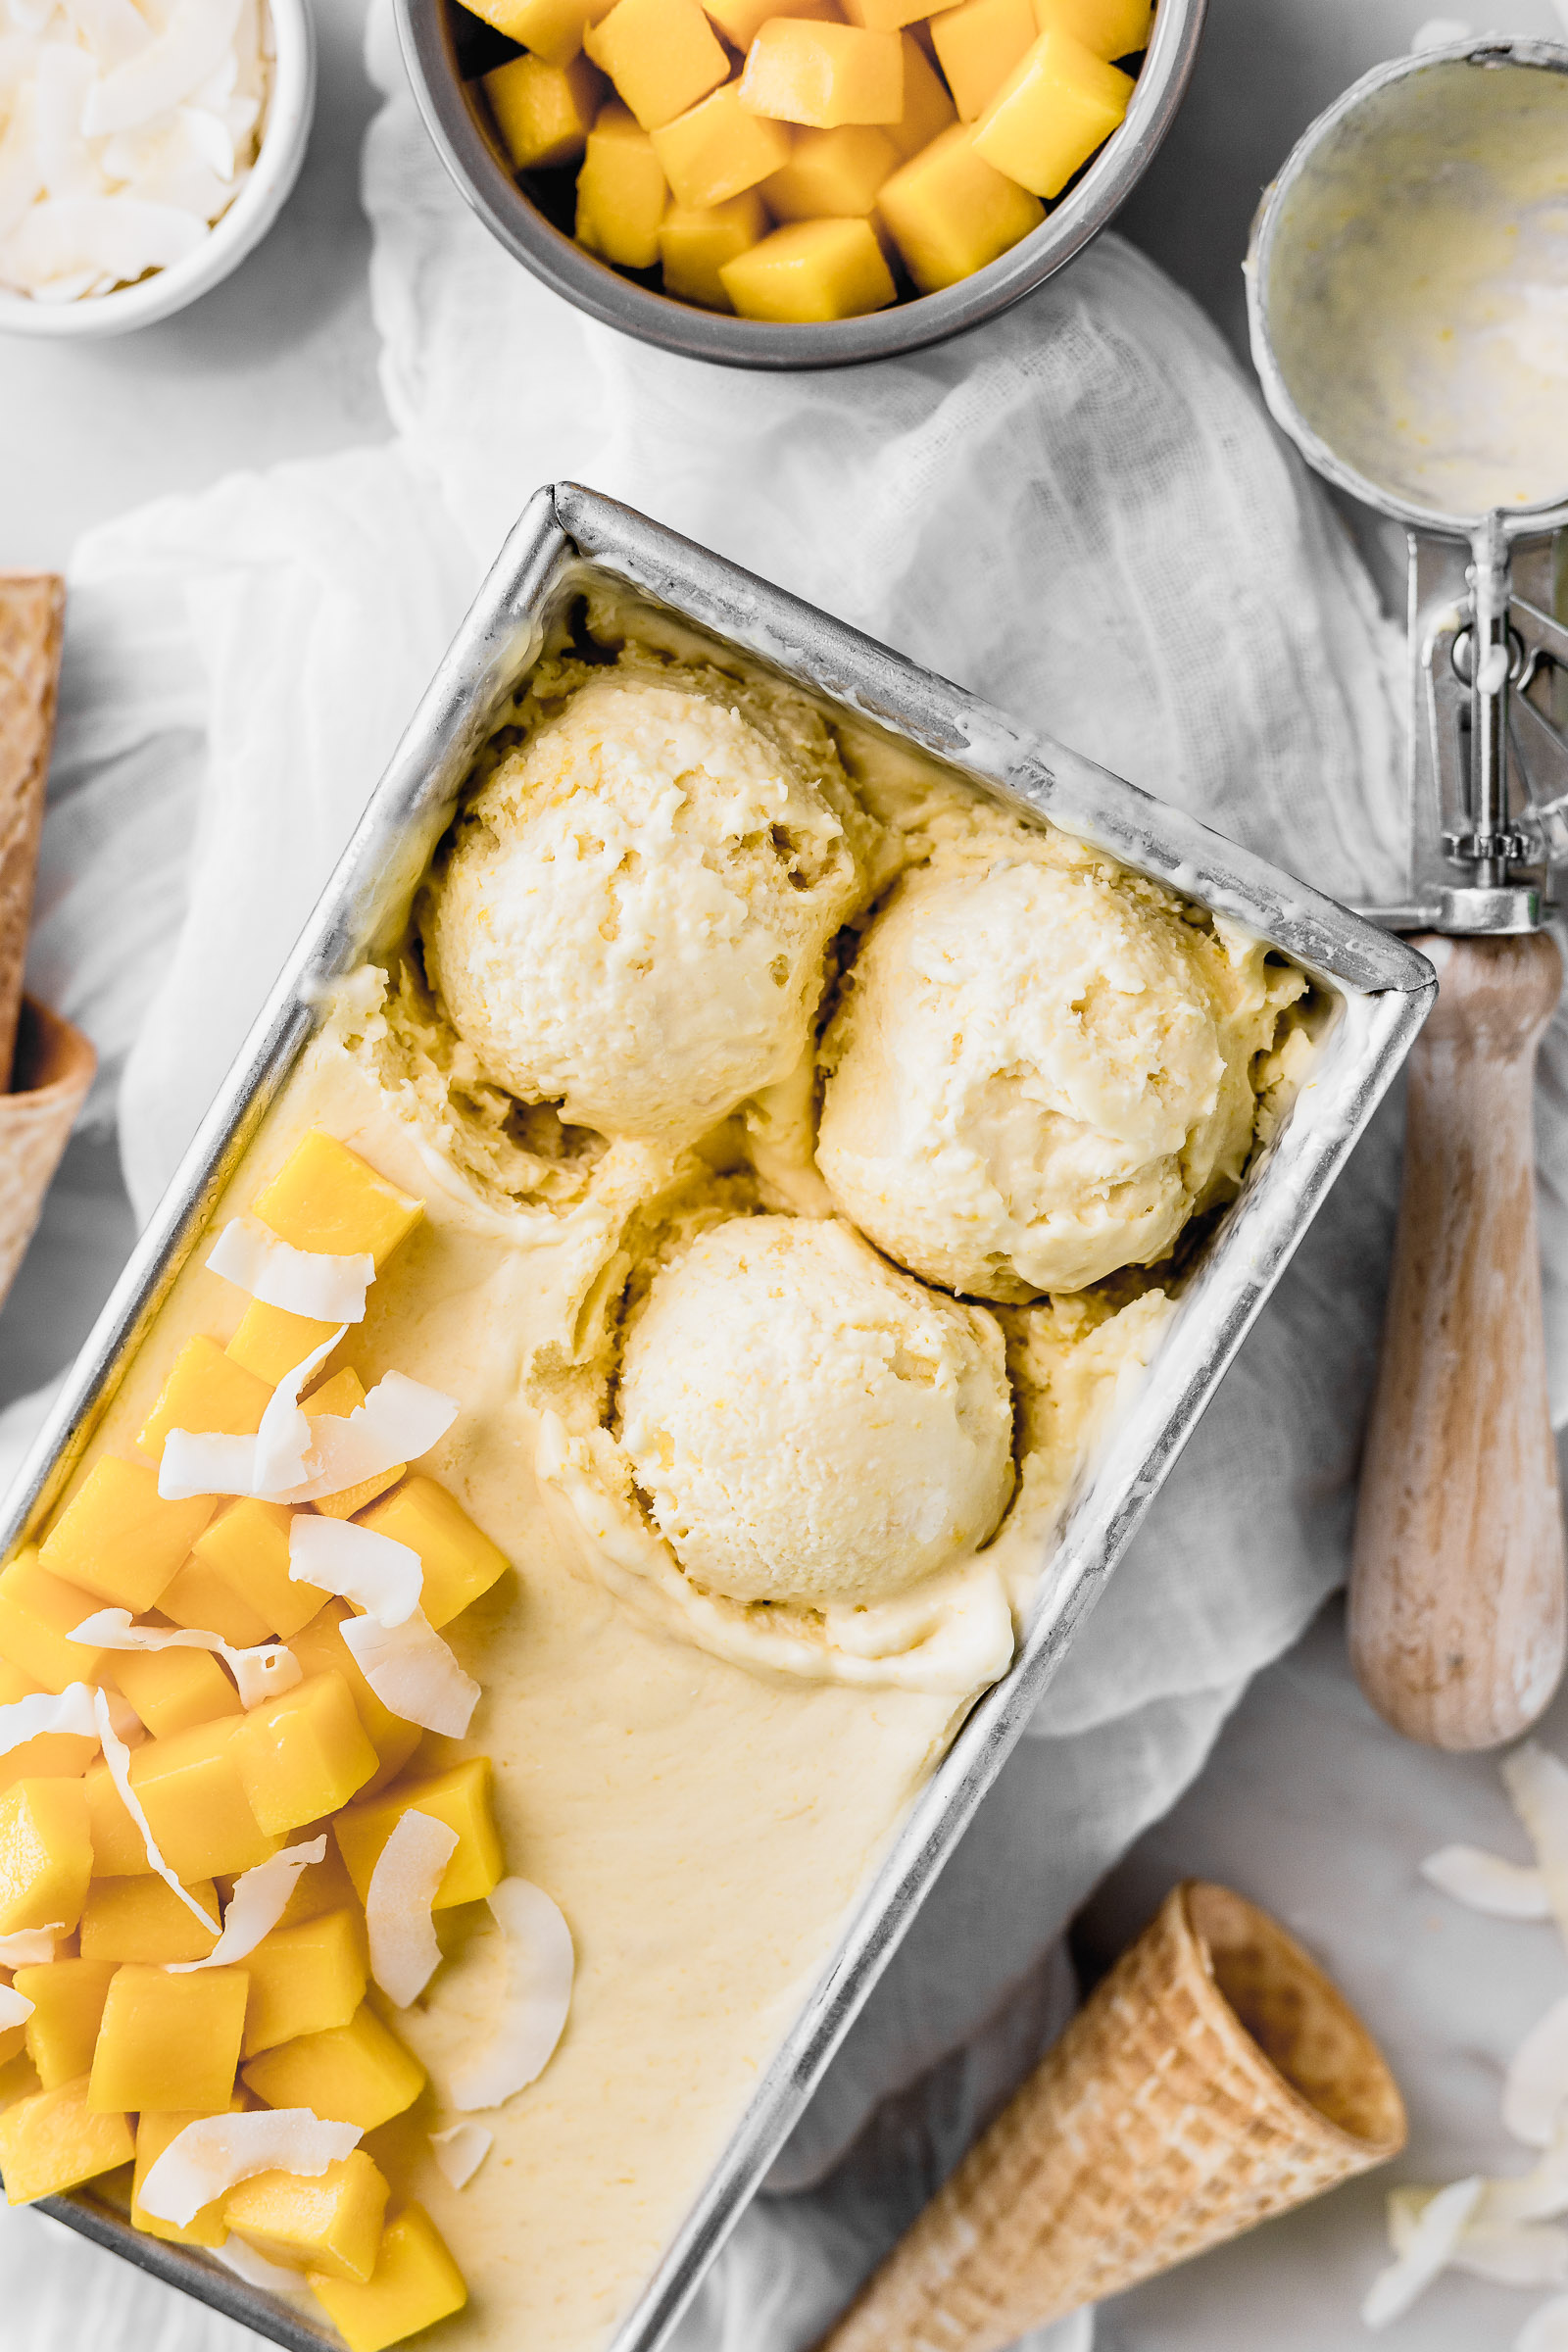
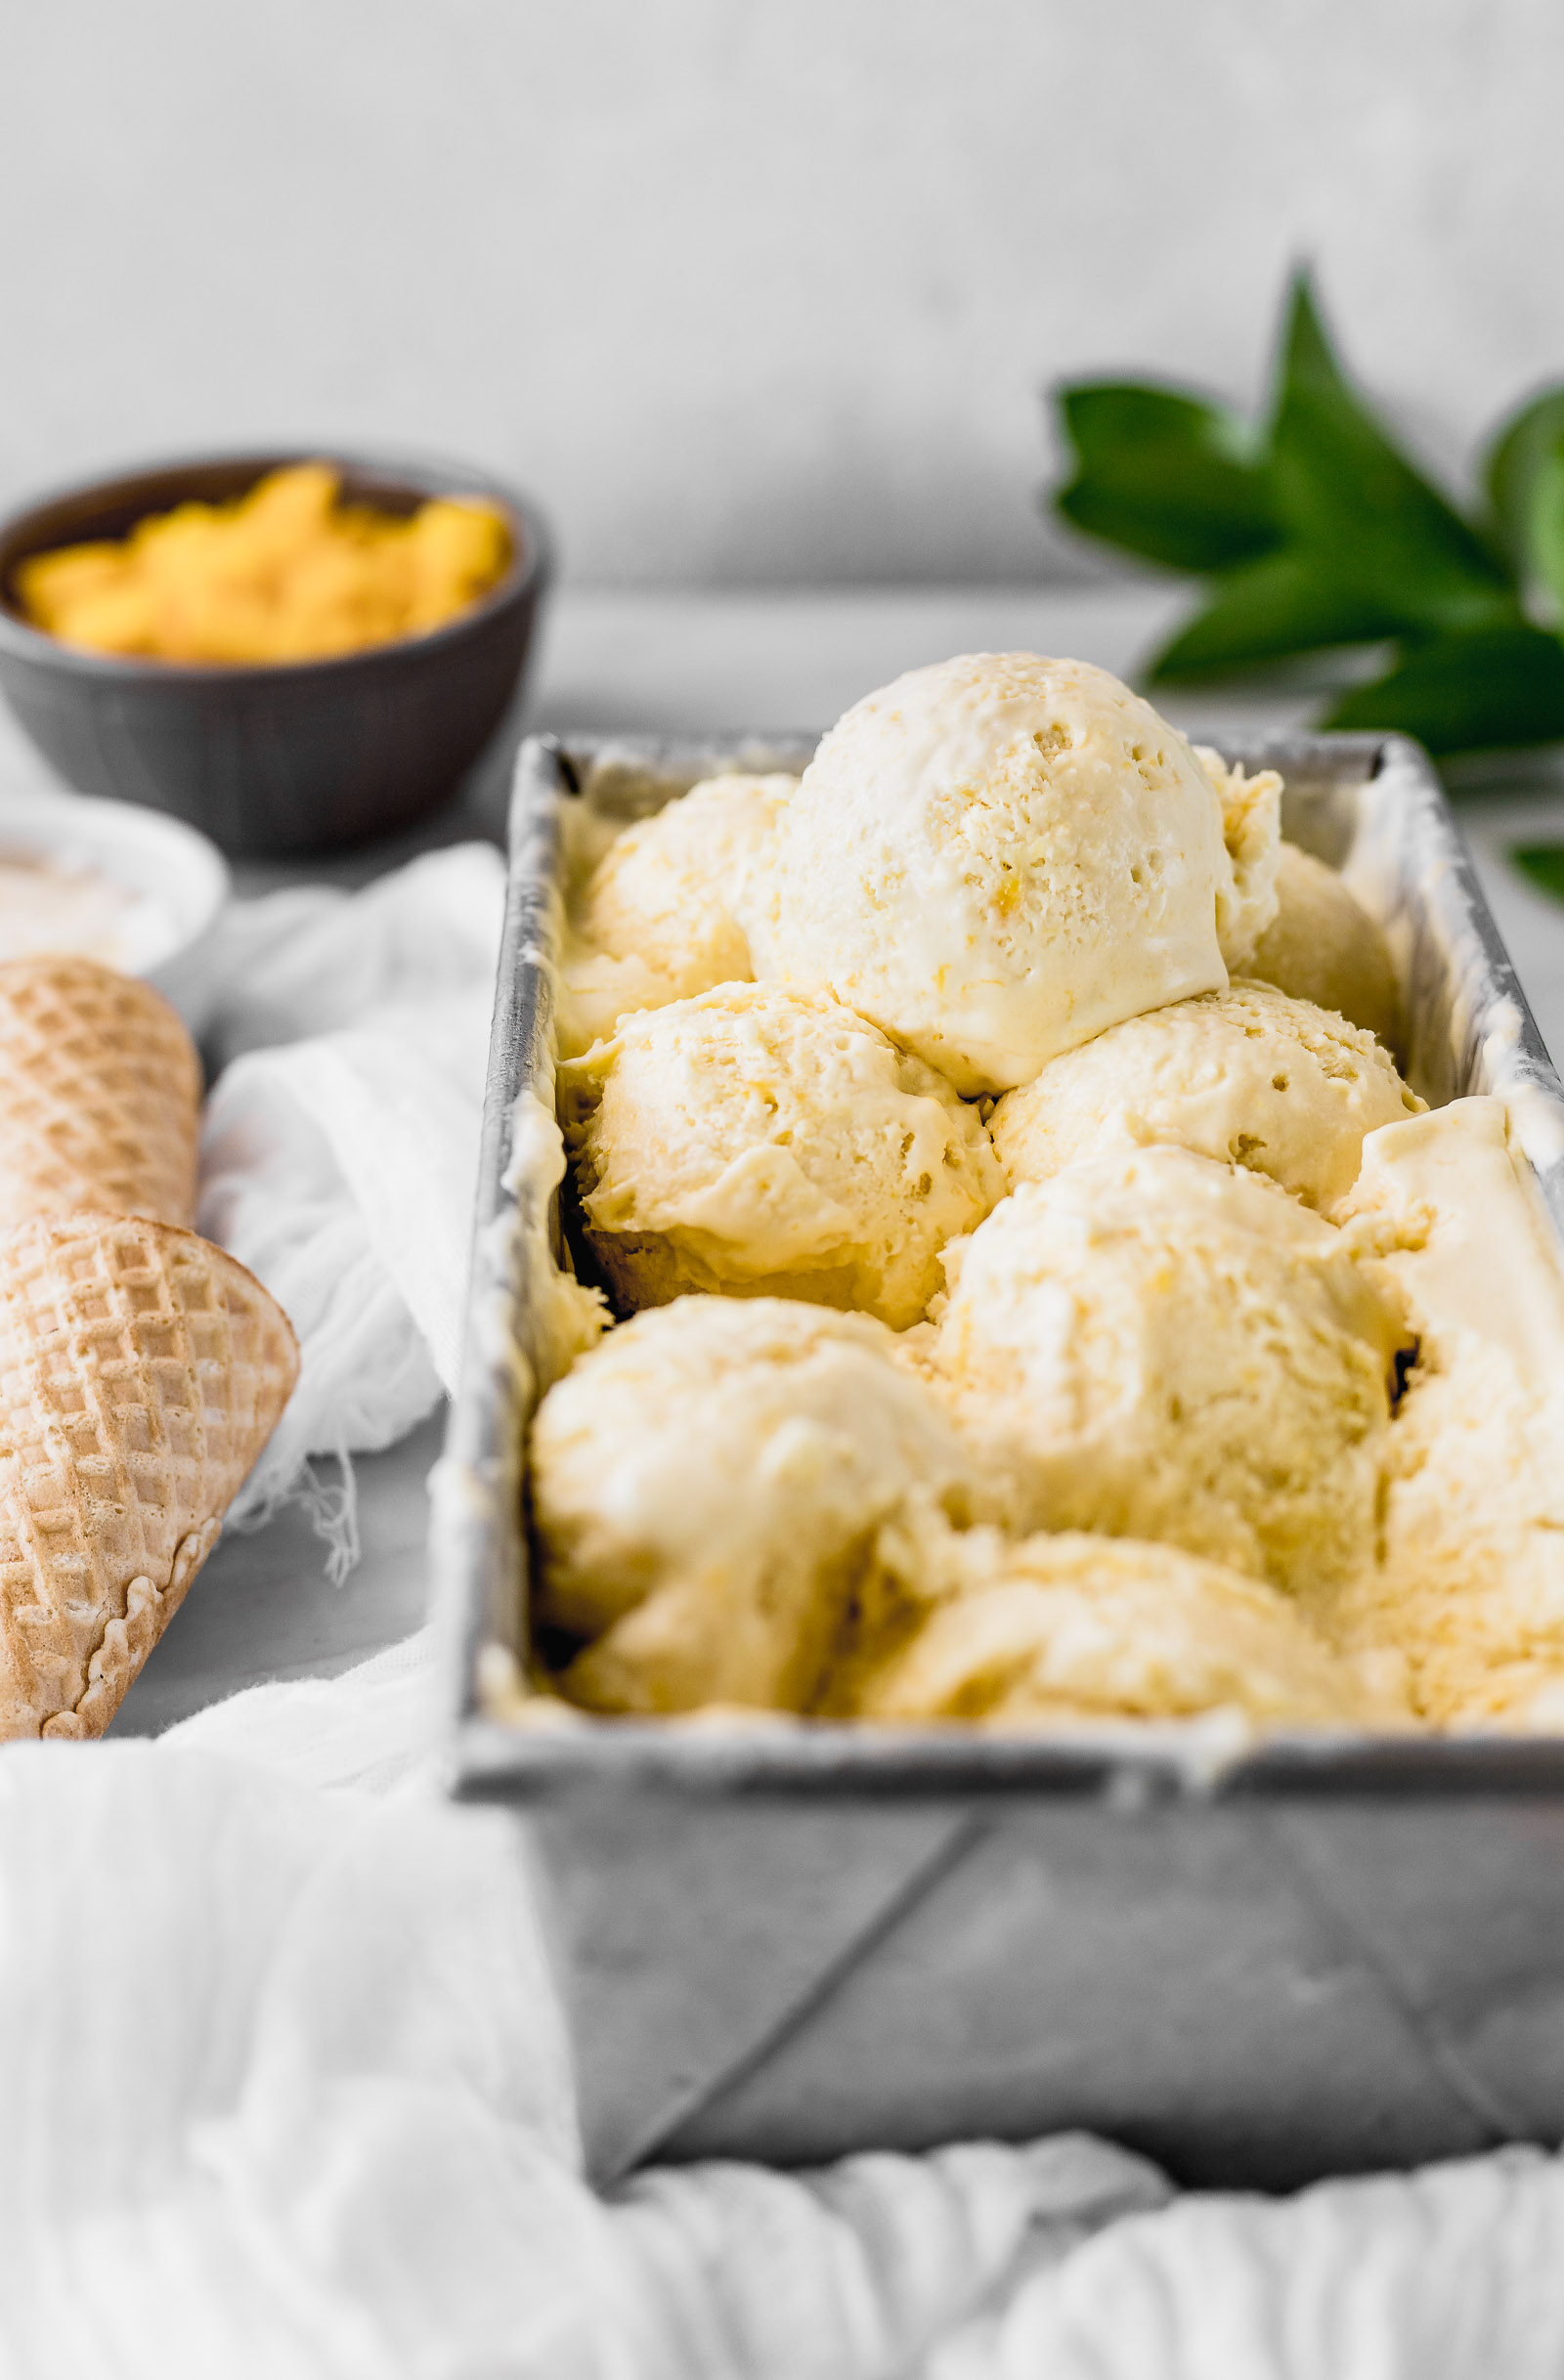
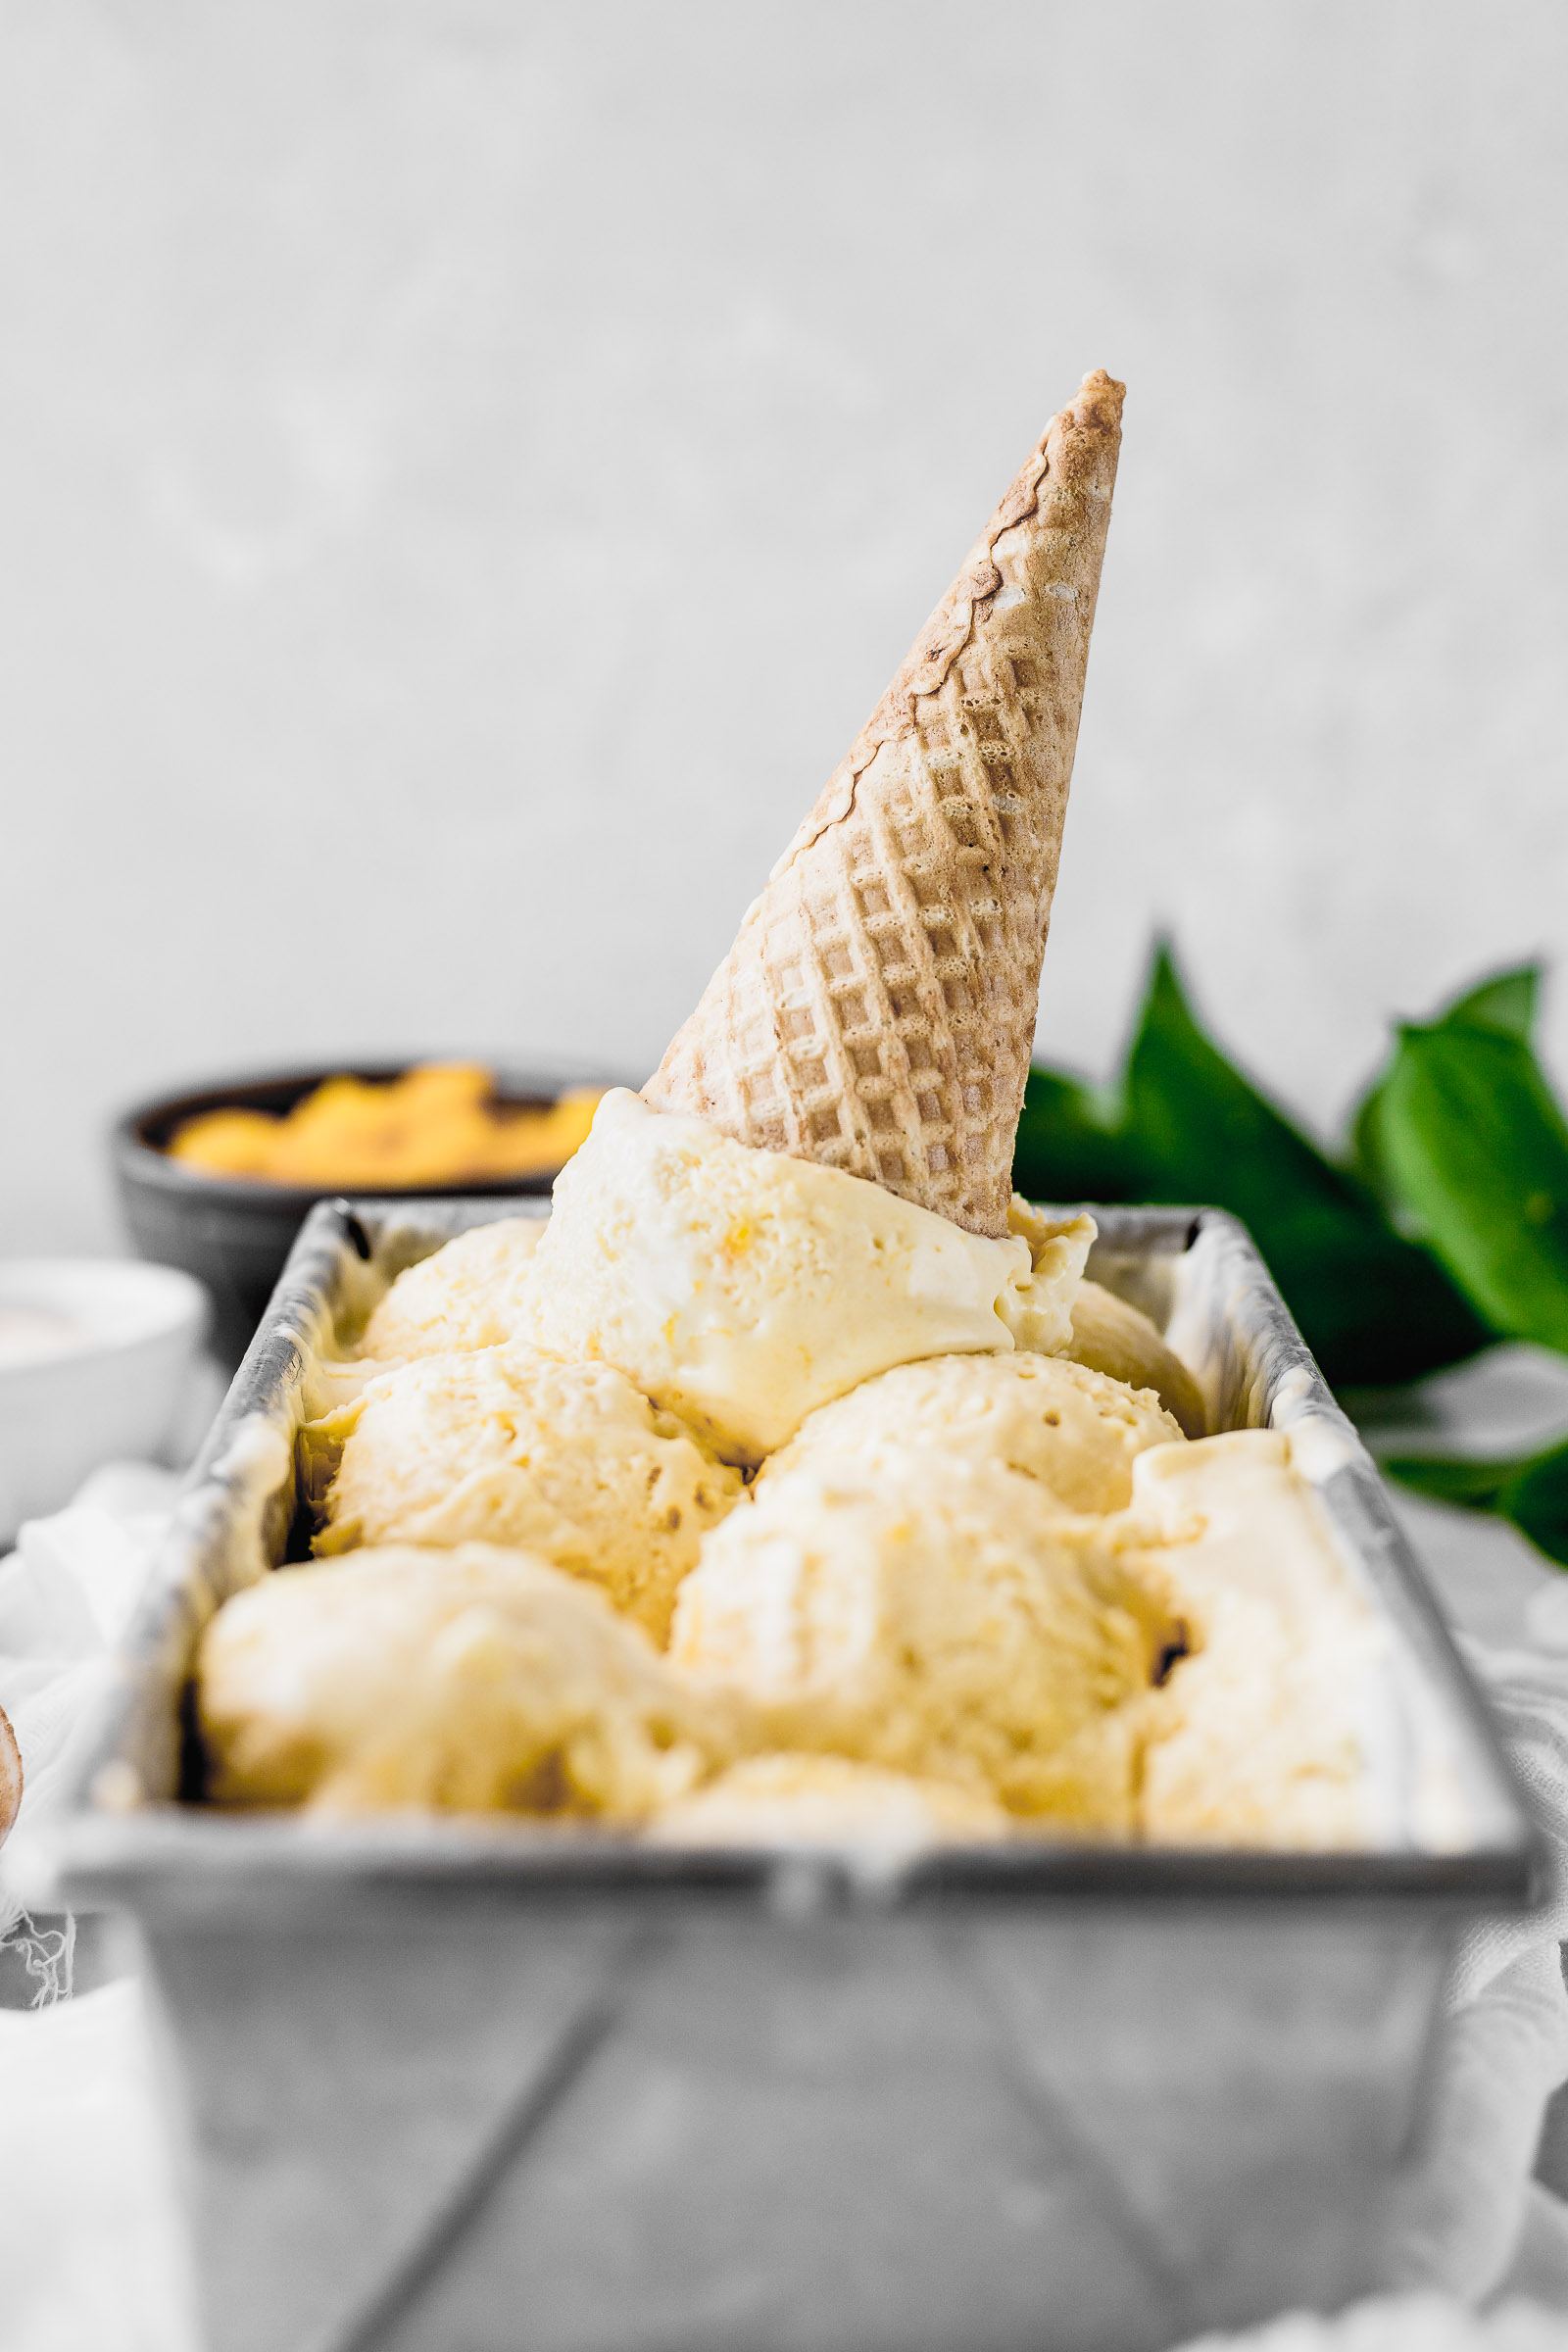
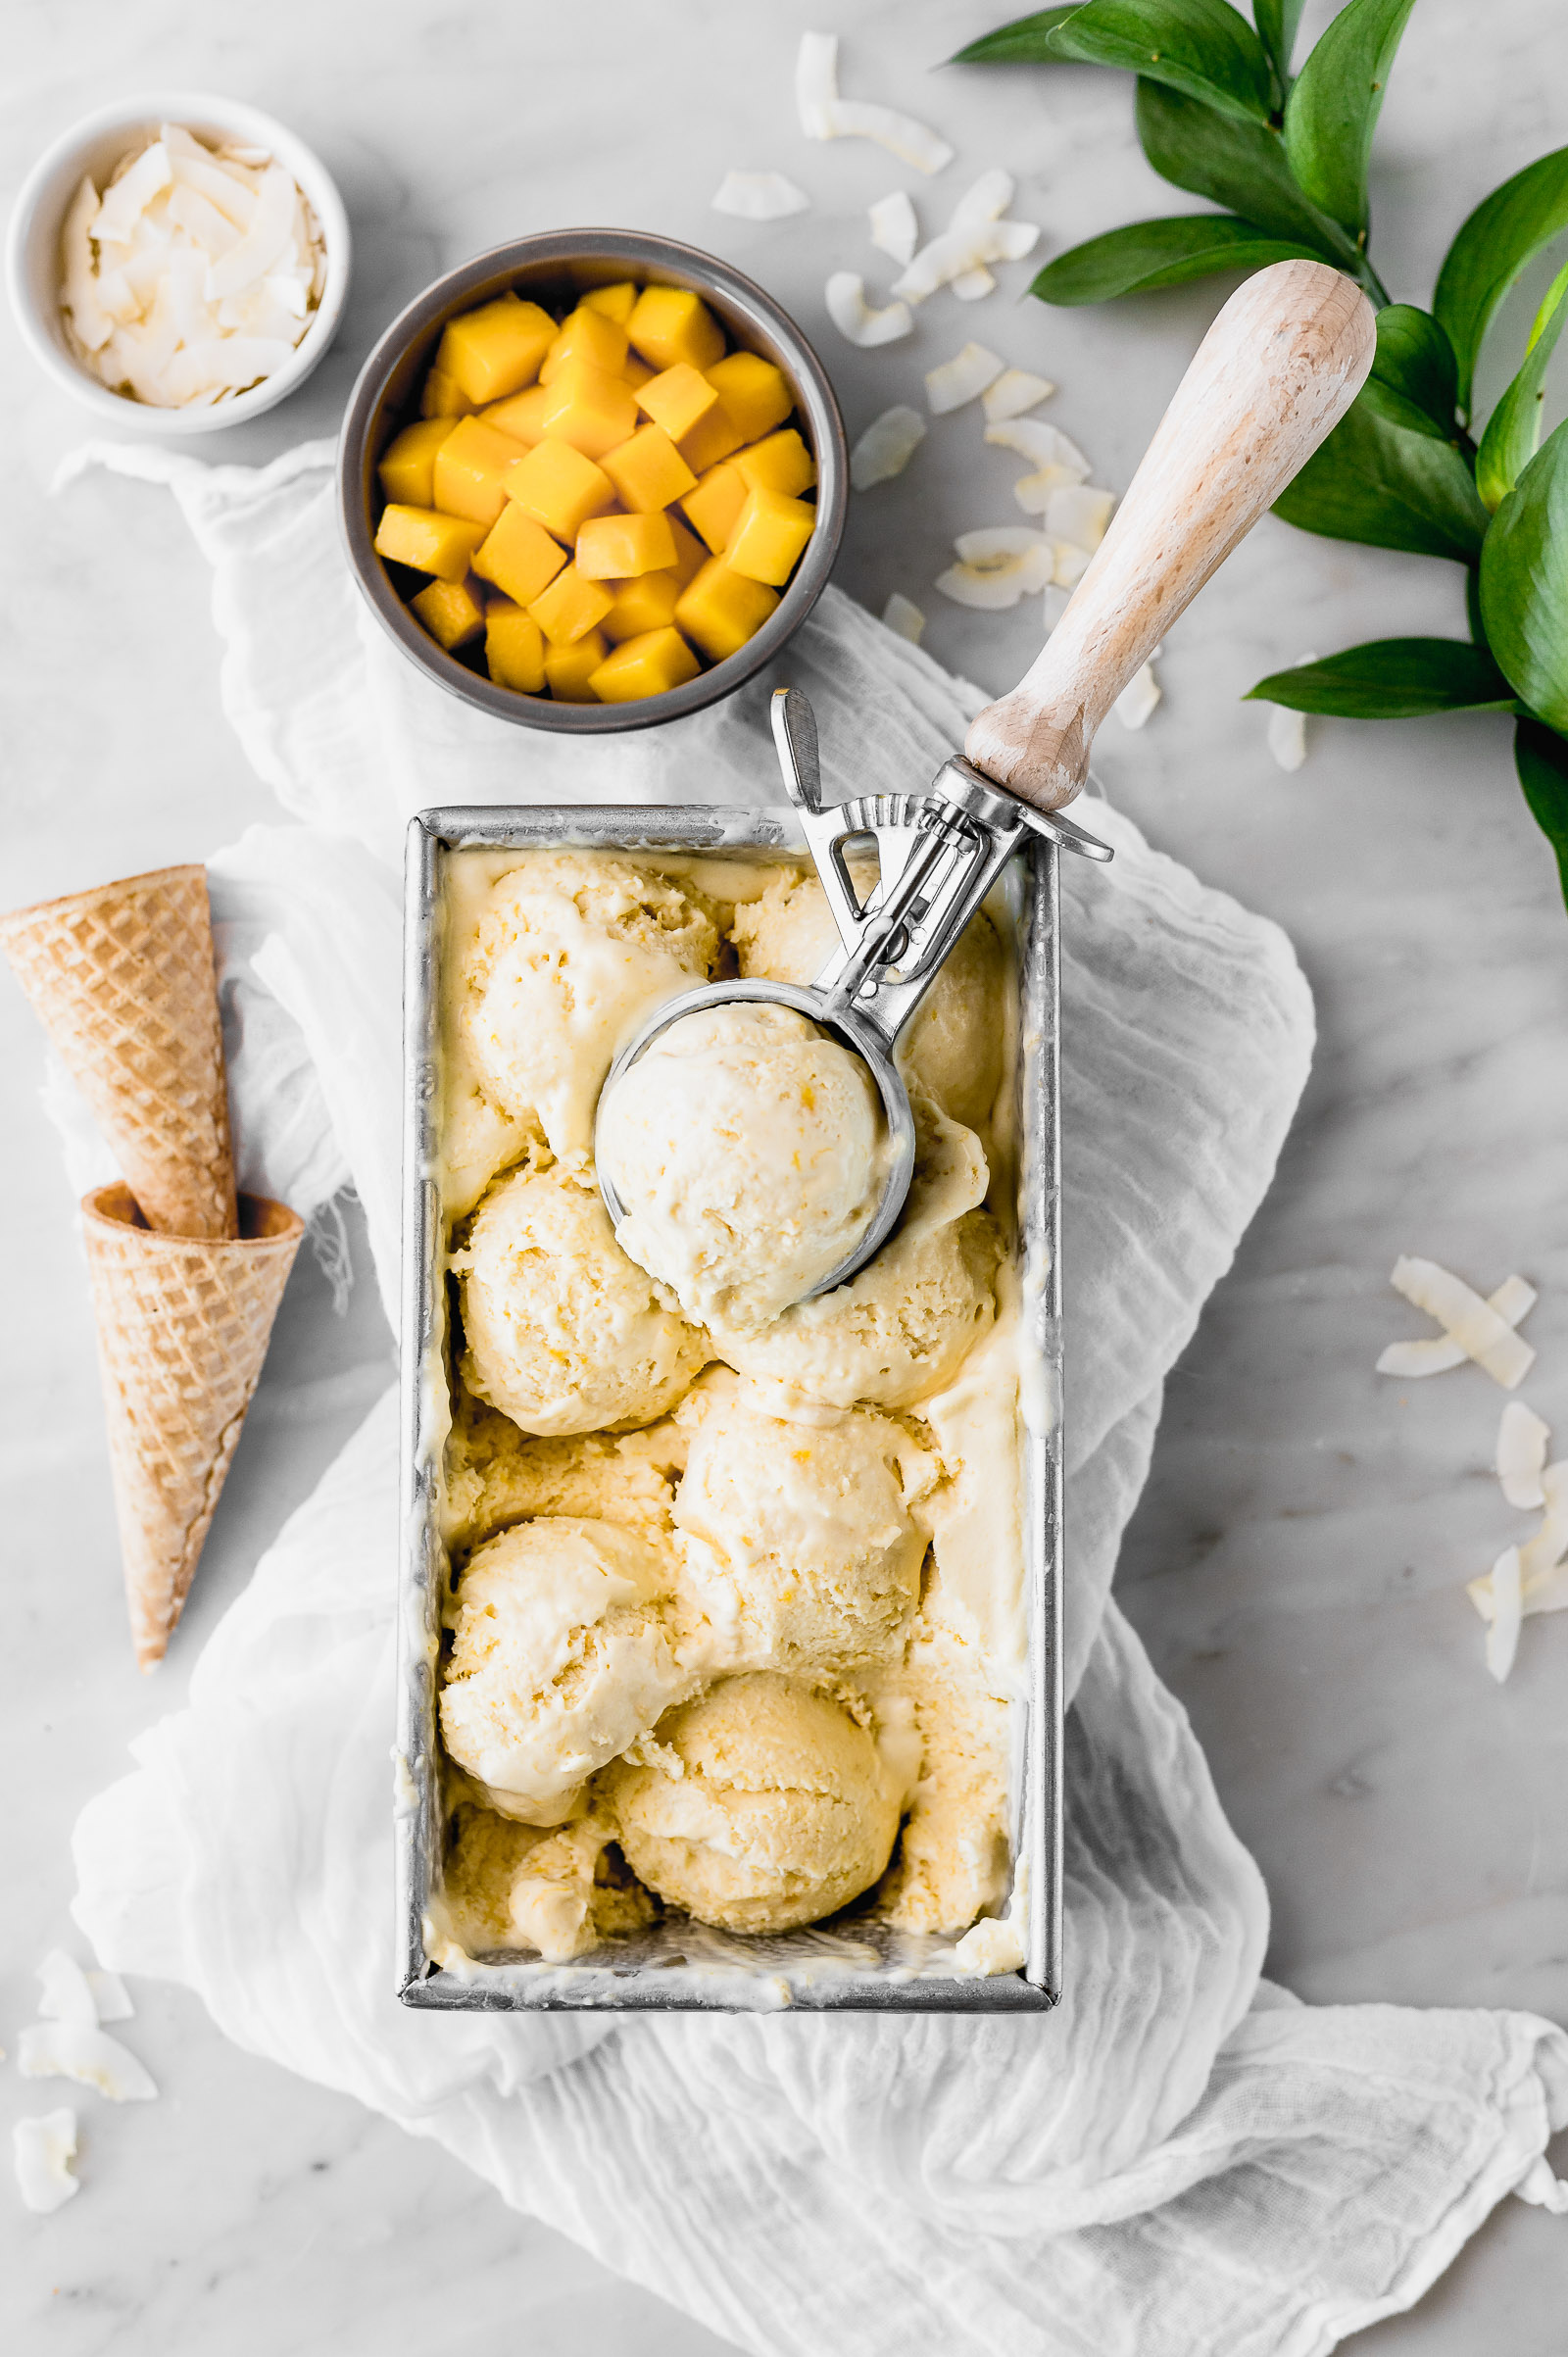
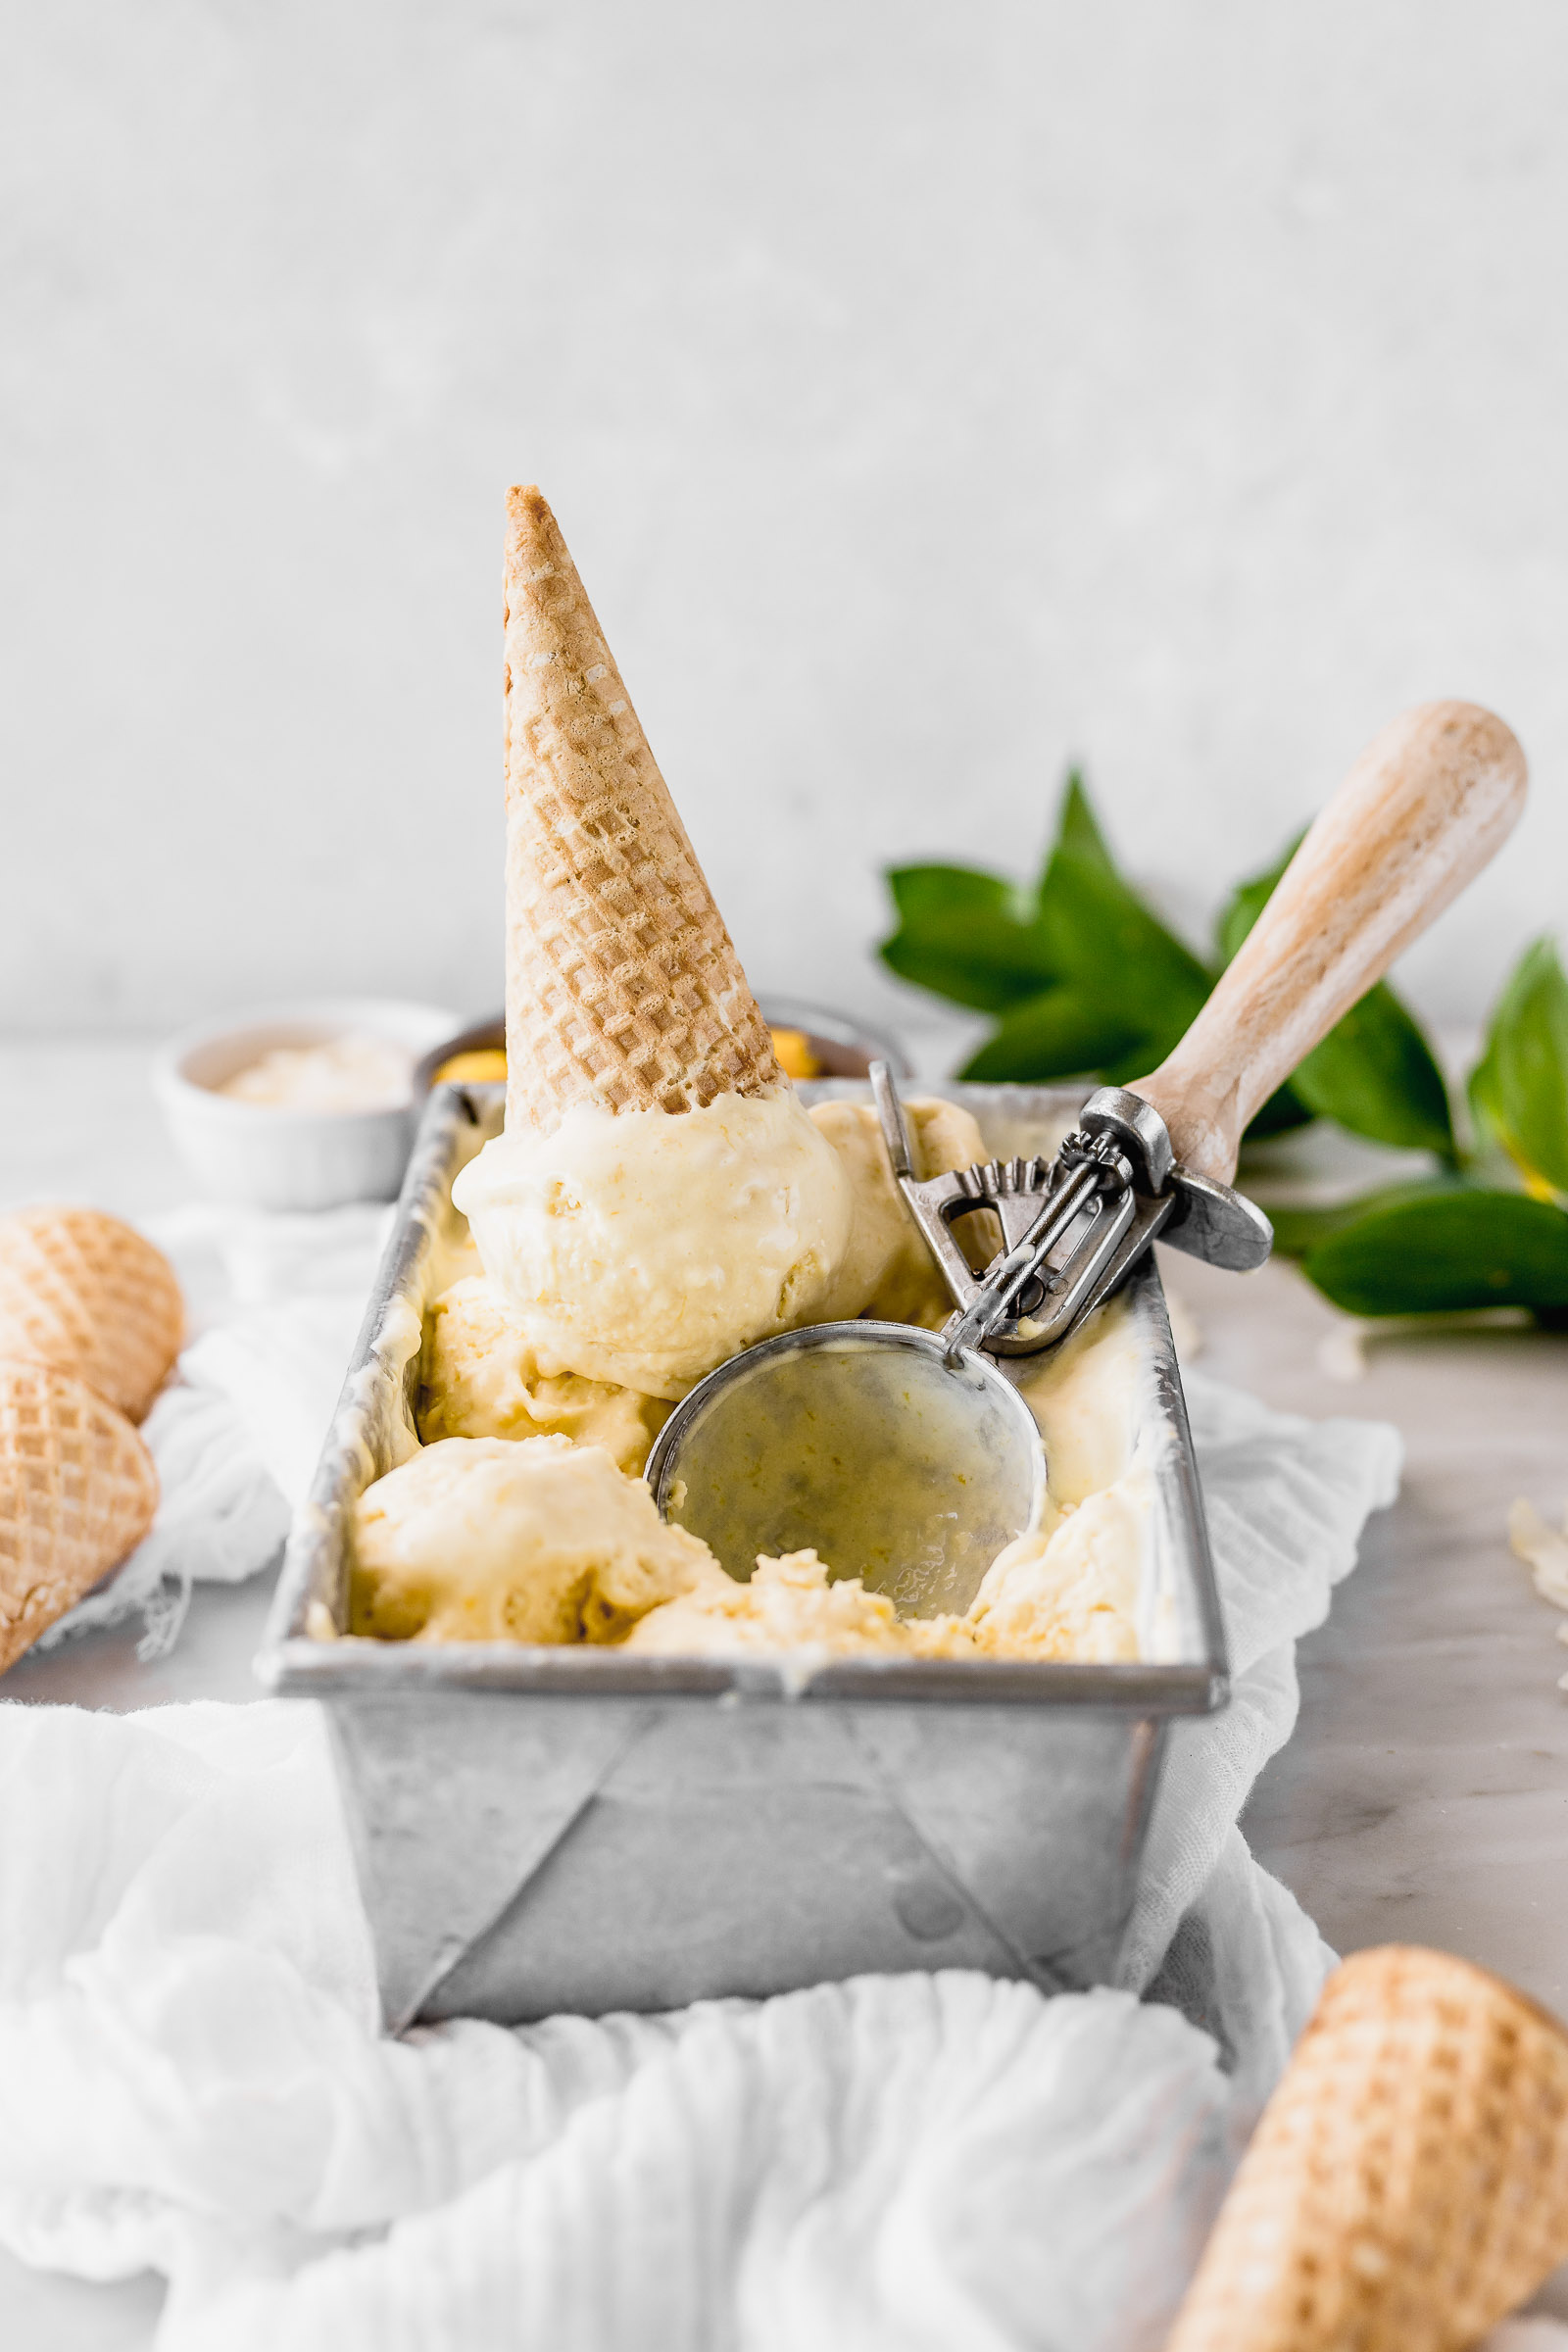
Mangoes are one of my favourite fruit. The recipe for this mango and coconut ice cream is great because you don’t need an ice cream machine to make it.
Last year I used another technique for making no-churn ice creams but it was much more complex. Halfway through last year I learnt this technique and I thought it was just perfect. The first recipe I tried it on was on my chocolate and brownie ice cream that’s on my ebook :).

I want to tell you a horror story. Up until a few months ago I had a blender that I got at the supermarket and it was SOOOO BAD! I bought the cheapest one because I’ve never had good experiences with blender and I didn’t want to spend on something that would only go half way. Every time I blended anything it smelled horrible like it was burning inside and I had to constantly mix with a spatula to help it out. Howeeeever I tried KitchenAid’s Diamond Blender and I loooooove it! I even made crushed ice with it the other day, it’s a real hit. #NoMoreBurntSmell
The reason why this recipe works is because of the condensed milk. Condensed milk has anti freezing properties which helps us prevent the appearance of ice crystals. However if you don’t follow the instructions and reduce que mango pulp by half, you can still get ice crystals in the ice cream. That’s because by boiling the mango we’re getting rid of some of the water.
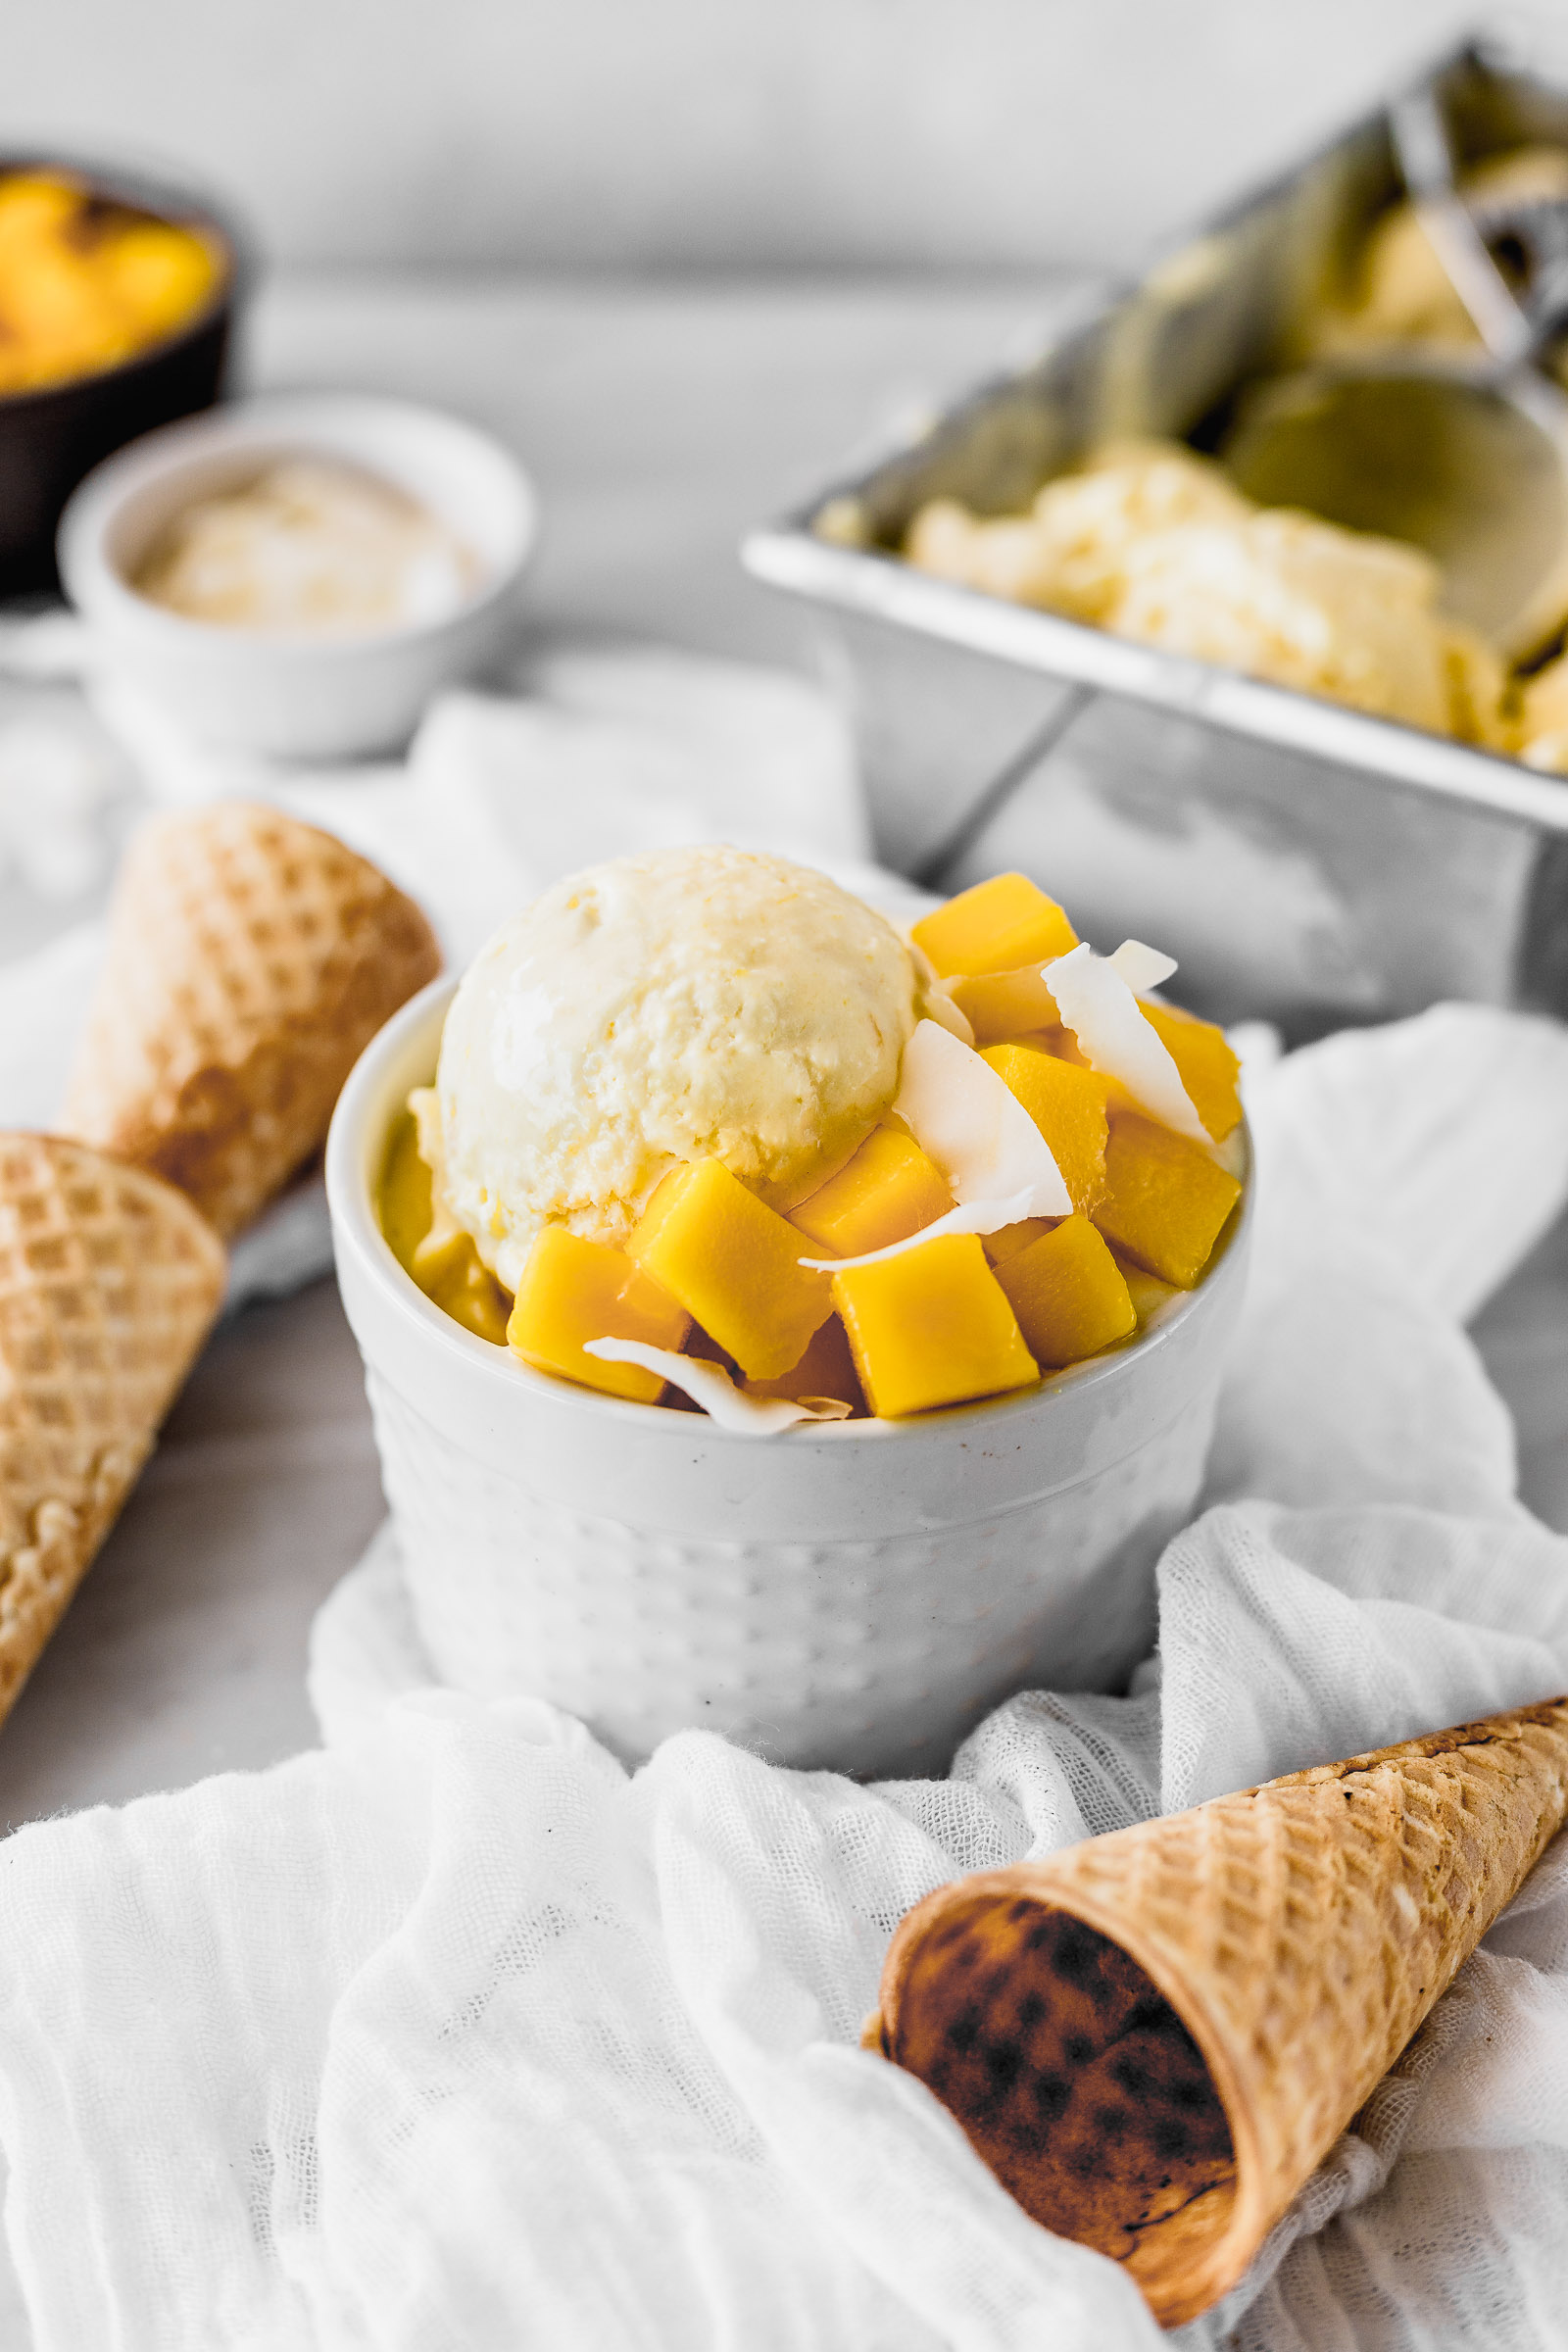

Mango and Coconut No Churn Ice Cream
Ingredients
- 200 g mango pulp 1-2 mangoes
- 100 ml coconut cream it’s the sweetened one and you can find it in the drinks or asian sections
- 400 g leche condensada
- 400 ml crema de leche fresca
Instructions
-
Blend the mango on blend mode for 1-2min or until really smooth.
-
Cook it over medium heat until it reduces to half the original volume. Remove it from the heat and transfer to a clean bowl.
-
Mix the mango with the condensed milk and coconut cream. Wait for the mix to cool down completely.
-
Once cold whip the cream until you can form stiff peaks.
-
Add 1/3 of the whipped cream to the mango and mix with a spatula. We’re first making the textures more similar between each other because if we were to add the mango to the cream at once it would take out all of the air from it.
-
Add the rest of the cream and mix with a spatula using folding motions.
-
Take the mix to the freezer for at least 12 hours.
This post is sponsored by KitchenAid. Thank you so much for supporting the brands that make this blog possible 🙂
That looks incredible.