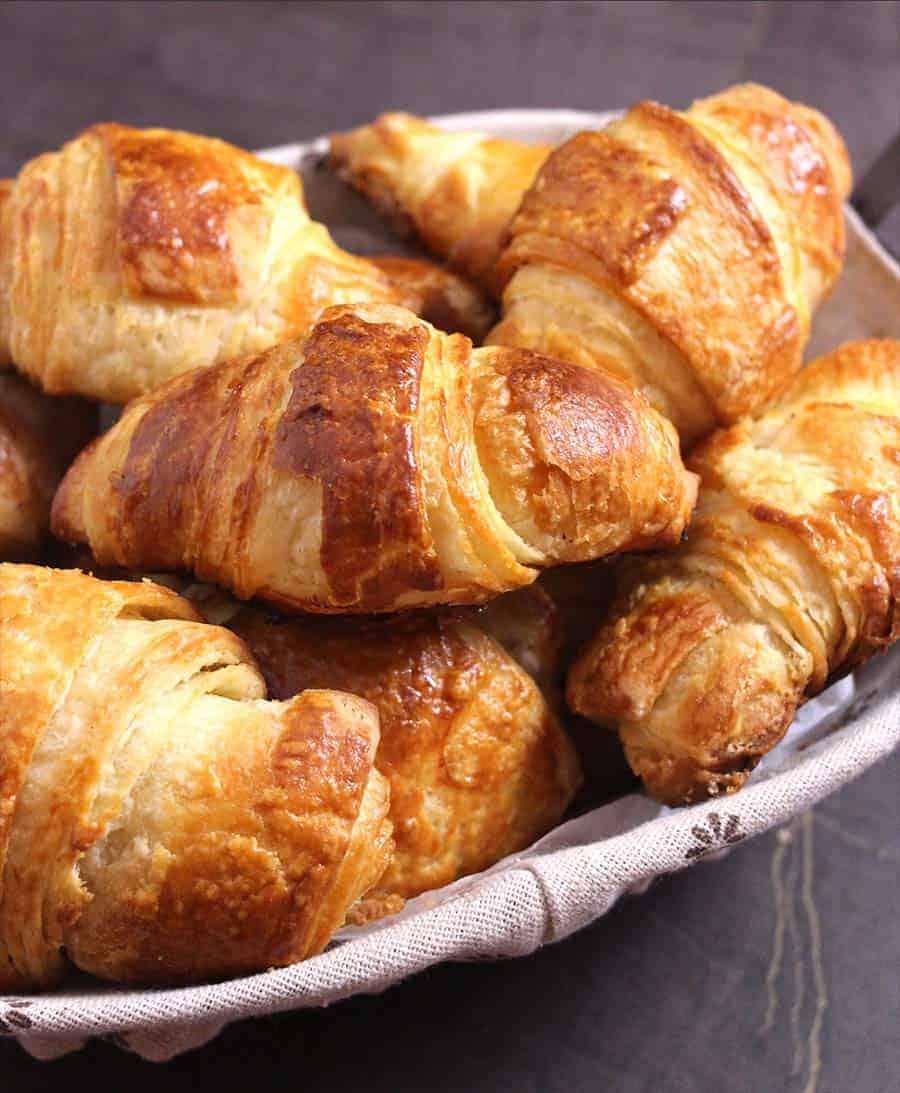
In the world of baking, few delights capture the inventiveness quite like the French croissant. With its golden-brown exterior and delicate, buttery layers that seem to melt in your mouth, this iconic pastry is more than just a breakfast staple; it is a testament to the craft of pastry making. Yet, behind the seemingly simple pleasure of a fresh croissant lies an intricate dance of techniques and ingredients that can daunt even the most seasoned home bakers. in this article, we’ll embark on a journey to demystify the art of crafting perfect croissants, exploring the essential steps to achieve that coveted flaky texture and rich flavor. Whether you’re a novice eager to try your hand at baking or a seasoned enthusiast looking to refine your skills, mastering the croissant promises not only a satisfying challenge but also a flavorful reward. Prepare to roll, fold, and rise your way to pastry perfection.
Understanding the Science Behind Flaky layers
At the heart of a perfect French croissant lies the delicate science of lamination, a process that involves folding and rolling dough to create layers of butter and pastry. This technique results in the signature flakiness that makes croissants so irresistible. When flour is combined with water and yeast, gluten formation begins, which provides structure. as you incorporate cold butter through the lamination process,the goal is to form distinct layers; each fold traps air within the dough. This air, once heated, expands and creates those coveted flaky pockets.
Understanding the temperature control during lamination is crucial. If the butter becomes too soft, it will mix into the dough rather than remain as separate layers, leading to a denser result. The ideal temperature to work with butter is around 60-65°F (15-18°C). Additionally, the resting periods between folds allow the gluten to relax, ensuring that the dough can be rolled thin without springing back. To visualize the layers, consider the following table that highlights the properties of ideal dough at different stages of readiness:
| Stage | texture | Key Considerations |
|---|---|---|
| Unfolded Dough | Smooth & Elastic | Proper gluten growth |
| First Fold | Soft & Short | Maintain cold butter integrity |
| Final Fold | Flaky & Light | Achieve maximum layers |
The Perfect Dough: Ingredients and Techniques for Success
To achieve the ultimate buttery and flaky texture in your croissants, starting with quality ingredients is crucial. Opt for high-fat European butter,which boasts a higher butterfat content compared to regular butter. This richness not only enhances flavor but also contributes to the desired flakiness. additionally, use bread flour with a protein content of around 12-14% for its strength and chewiness.Incorporating a bit of sugar can help in browning the croissants,while salt elevates the flavor balance.Don’t forget about the importance of fresh yeast or active dry yeast, as these leavening agents are responsible for that delightful rise.
The technique of lamination is where the true magic happens. Begin by creating a detrempe (the dough) and allow it to rest, then roll it out before incorporating the butter block. This process involves folding and turning the dough multiple times to create layers. Aim for at least six folds, allowing the dough to rest in between to relax the gluten. This will result in nearly 729 layers of buttery goodness! When shaping, keep the edges thinner to help the croissants achieve that classic crescent shape. A light egg wash before baking will ensure a golden finish, and baking at a high temperature will help achieve the perfect rise and crispiness.
| Ingredient | Purpose |
|---|---|
| High-Fat European Butter | Enhances flavor and flakiness |
| bread Flour | Provides strength and chewiness |
| Sugar | Improves browning |
| Salt | Balances flavor |
| Fresh or Active Dry Yeast | Leavens the dough |
Shaping and Folding: Mastering the Croissant Method
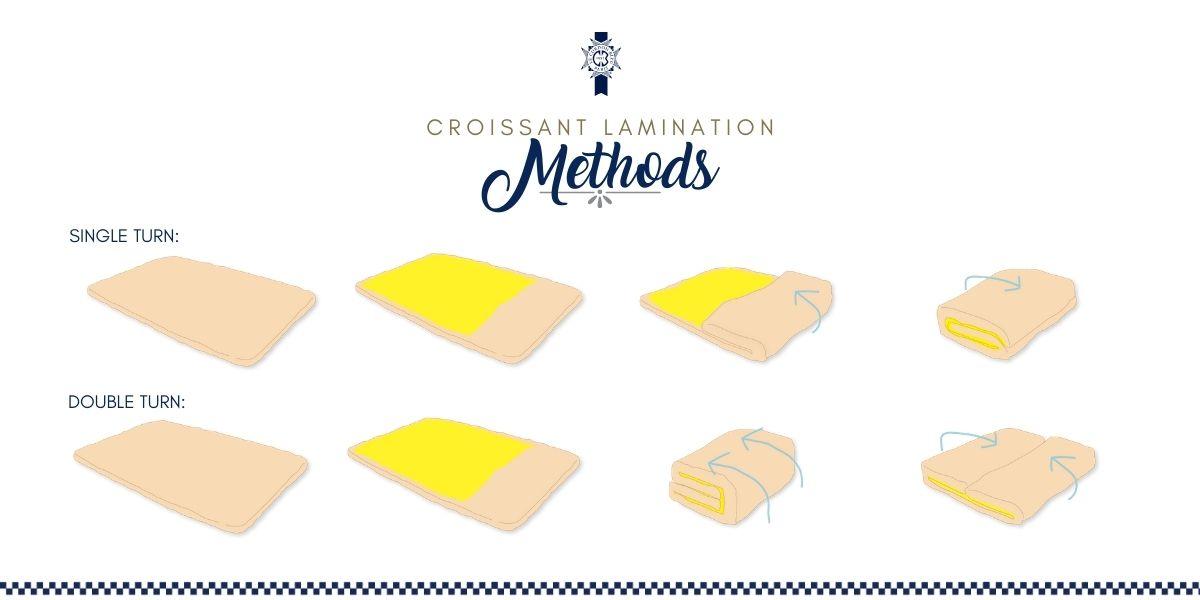
The enchanting process of shaping and folding croissants transforms simple ingredients into a delicate masterpiece of flaky layers. Start by rolling the chilled dough into a large rectangle, ensuring an even thickness. As you move through the folding stages, maintain a gentle hand to protect the integrity of the buttery layers. The first fold (or turn) introduces initial layers of butter, which begins to form the distinctive structure. The subsequent folds build upon this foundation,where each turn brings you closer to that perfect,airy texture. Here’s a quick breakdown of the fold types you’ll experience:
- Single Fold: Also known as a letter fold, this simple technique requires folding the dough into thirds.
- Double Fold: Involves two single folds,resulting in even more layers and a richer flaky texture.
- Triangular Shape: cut the dough into triangles and roll from the base to the tip, shaping it into a crescent.
It’s in the final shaping where creativity becomes a key ingredient. A croissant can be tailored into different forms, from traditional crescents to unique shapes that surprise your taste buds.Pay attention to the tension in the dough as you roll. Too loose,and the croissant won’t hold its shape; too tight,and it may burst in the oven. To visualize the process, refer to the table below:
| step | Description |
|---|---|
| 1. Roll Out | remove dough from the fridge and roll it out into a rectangle. |
| 2. First Fold | Fold dough into thirds to create layers for the first time. |
| 3. Chill | Let the dough rest in the fridge to maintain temperature and texture. |
| 4. Shape | Cut triangles from the dough and roll them to form classic croissant shapes. |
| 5. Final Proof | Allow the shaped croissants to rise before baking for optimal fluffiness. |

Baking to Perfection: Temperature and Timing Tips
Achieving the ideal temperature and timing is crucial when it comes to baking croissants that are irresistibly buttery and flaky. When preheating your oven, aim for 425°F (220°C) to start, as this high temperature creates that golden, crisp layer on the outside.once your croissants are in the oven, consider using a baking stone or steel to maintain consistent heat, ensuring that the base remains well-cooked without over-browning the tops. It’s also important to understand that every oven is different, so keep a close eye on your pastries as they bake, perhaps adjusting the temperature if necessary to avoid burning while still achieving that perfect puff. Additionally, here are some tips for timing:
- First Rise: 1-2 hours at room temperature, covered with a damp cloth.
- Chilling Gaps: about 30 minutes between each fold to relax the dough.
- Final Proof: 1 hour at room temperature before baking.
When your croissants hit the oven, aim for a baking time of 15-20 minutes until they are beautifully golden brown. You want to ensure that they are baked to perfection, so using a timer can help in monitoring the process closely. A good practice is to rotate the baking tray halfway through to ensure even coloring. to help you keep track of your temperatures and times, the following table outlines key stages:
| Stage | Temperature | Time |
|---|---|---|
| Preheating | 425°F (220°C) | N/A |
| First Bake | Initial Temperature | 15-20 minutes |
By mastering these temperature and timing nuances, you will be well on your way to producing croissants that boast a delightful texture and taste, taking your baking experience to new heights.
Insights and Conclusions
As we conclude this journey into the world of buttery, flaky French croissants, we hope you feel inspired to don your apron and embrace the art of pastry making. Remember, each fold, each layer, and each moment spent nurturing the dough brings you closer to the perfect croissant. Whether you’re aiming for breakfast bliss,a delightful afternoon treat,or a way to impress guests,mastering this classic pastry adds not just a skill to your repertoire but a little magic to your kitchen. So gather your ingredients, channel your inner French patissier, and let the fragrant aroma of freshly baked croissants transform your home into a little corner of Paris.Bon appétit!