Difficulty 3/5
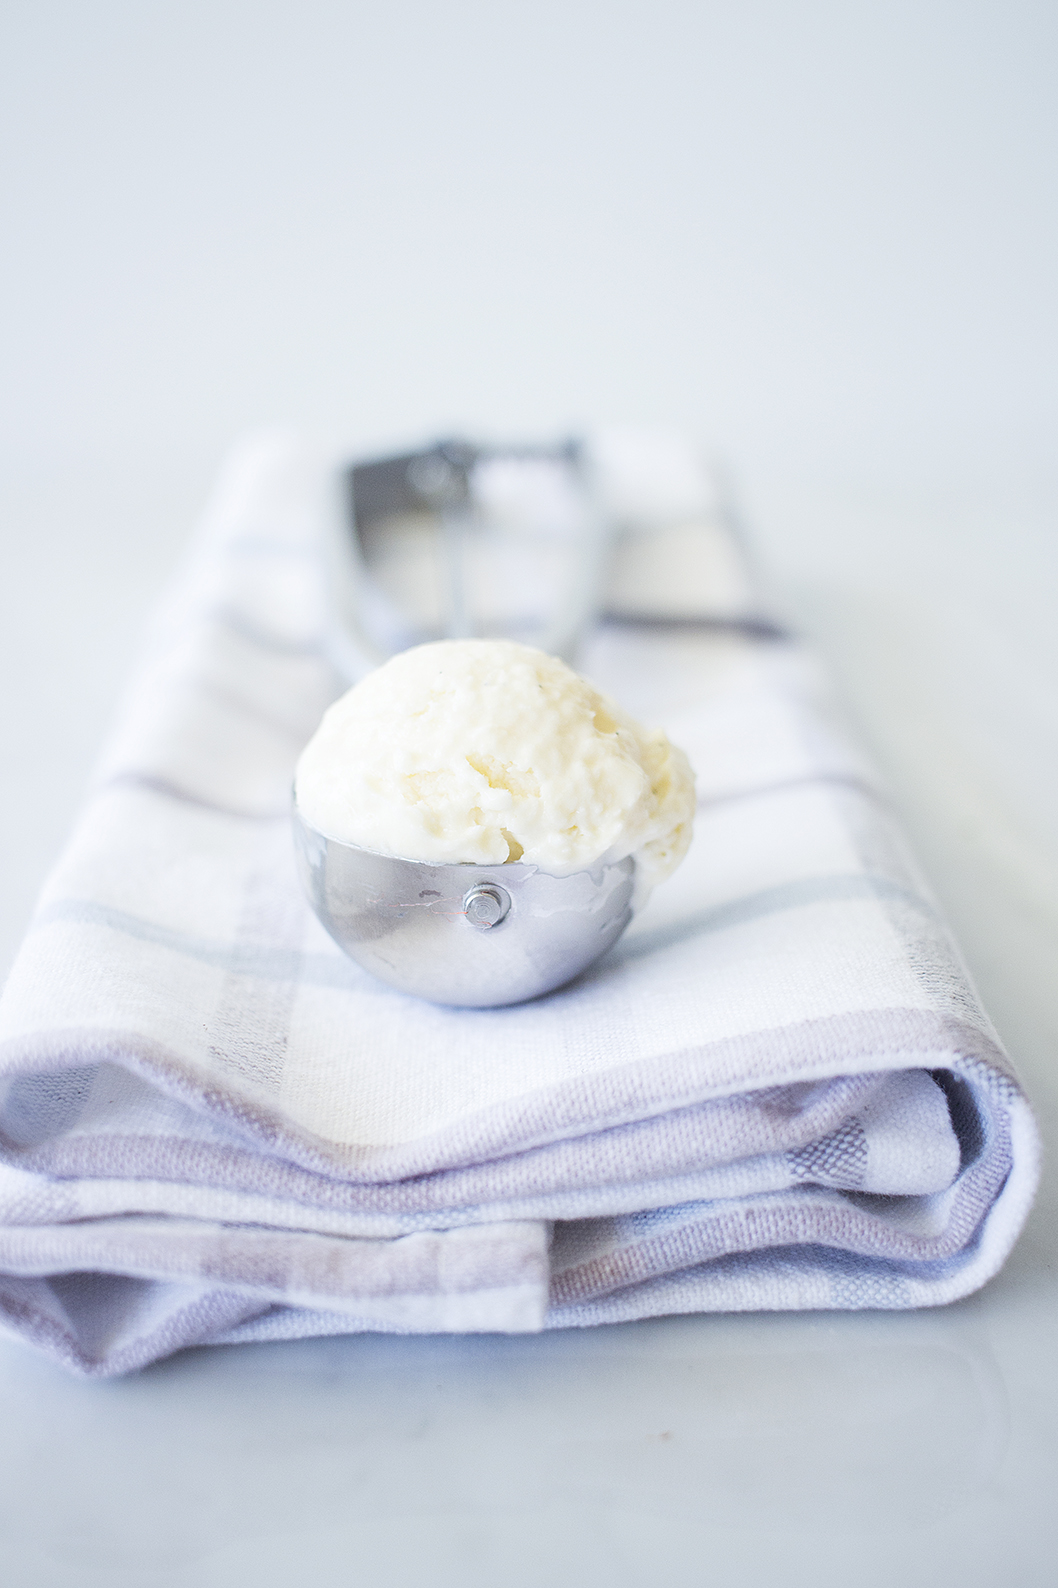
Spring had begun in the southern hemisphere and that only means that it’s time to make ICE CREAM!!! Although I must say that a good vanilla bean ice cream is perfect for any season because it goes well with warm desserts as well. This one doesn’t need and ice cream machine and it’s super creamy and rich… can you ask for anything else?
Very ultra special thanks to my friend Romina from Anelare ice creams who gave me the recipe upon which I based my vanilla ice cream 🙂
I remember before I was really skeptical of making ice cream at home but it was actually quite easy! The tricky part is to get the creme anglaise right, which is the base of the ice cream. But from then on it’s just waiting for it to freeze and whipping it up with the mixer.
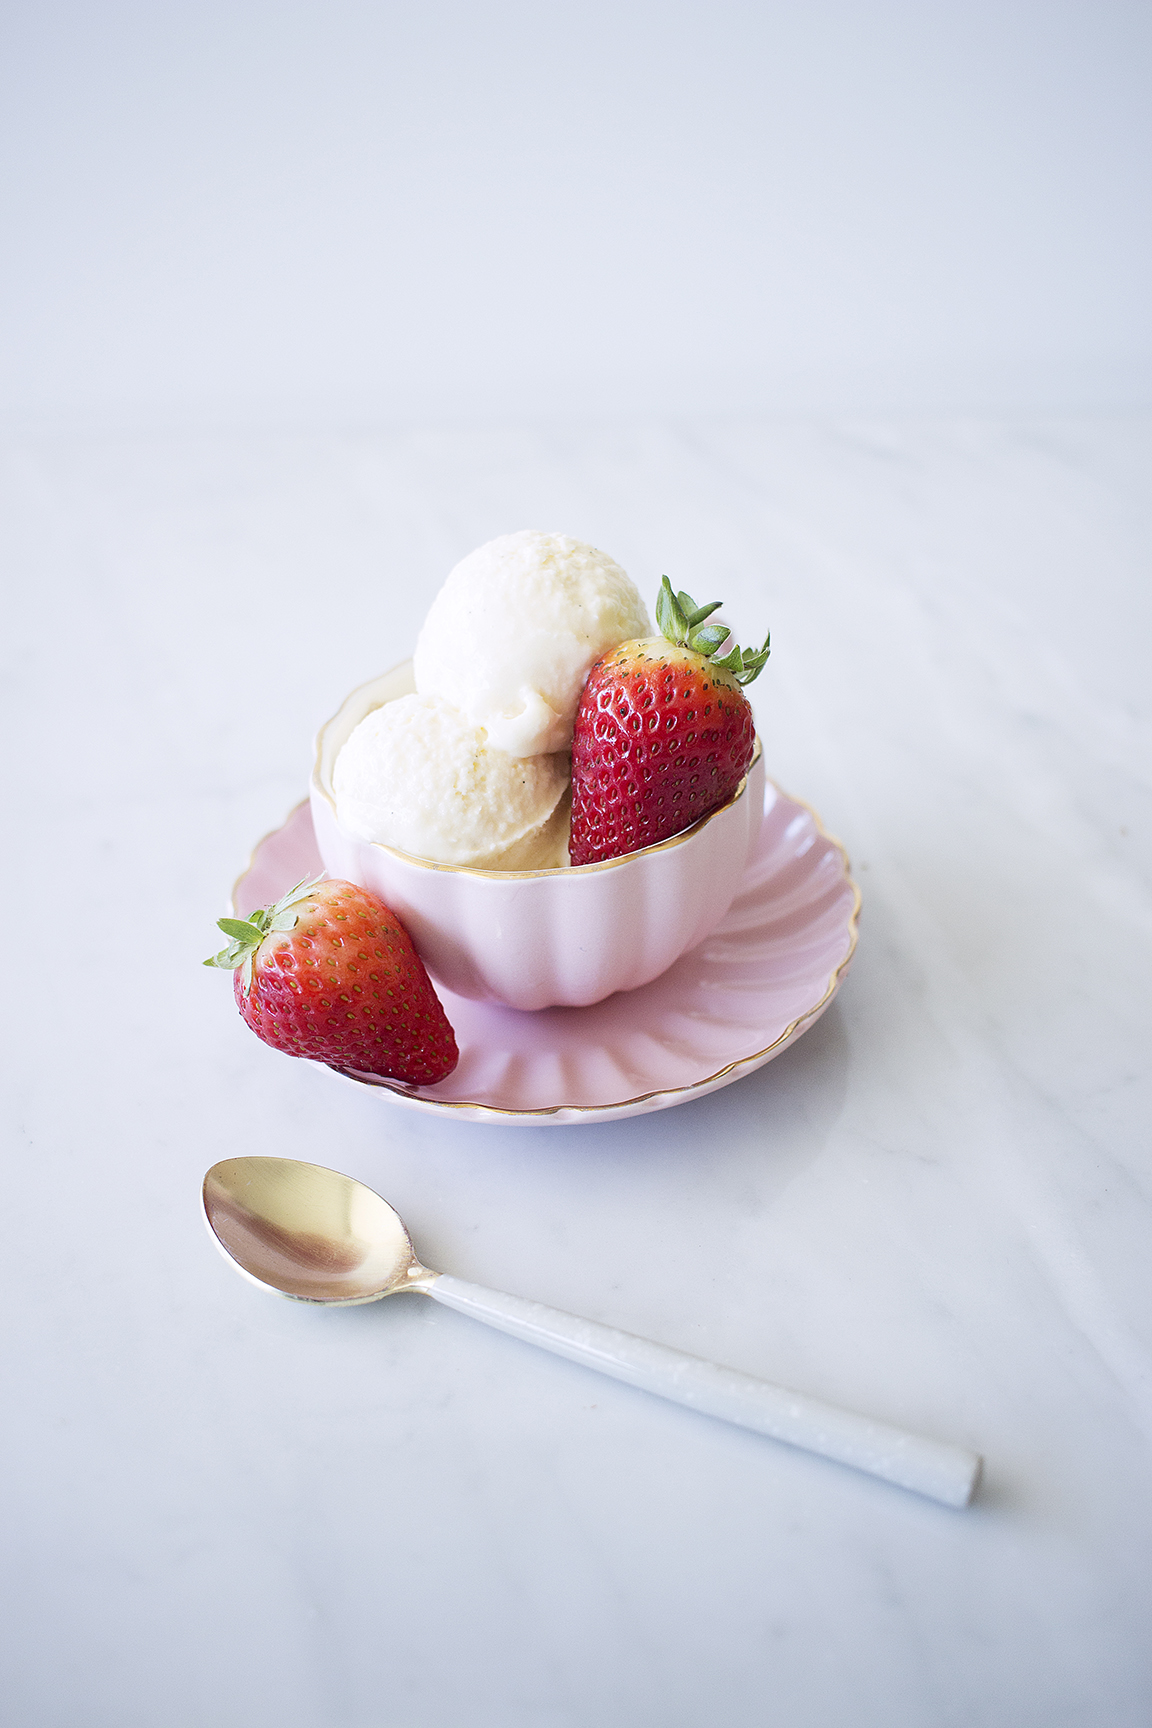
So actually, if you’re get organized you can manage to do it in 3 days only spending a few minutes a day and by the weekend you’ll have lovely ice cream for everyone.
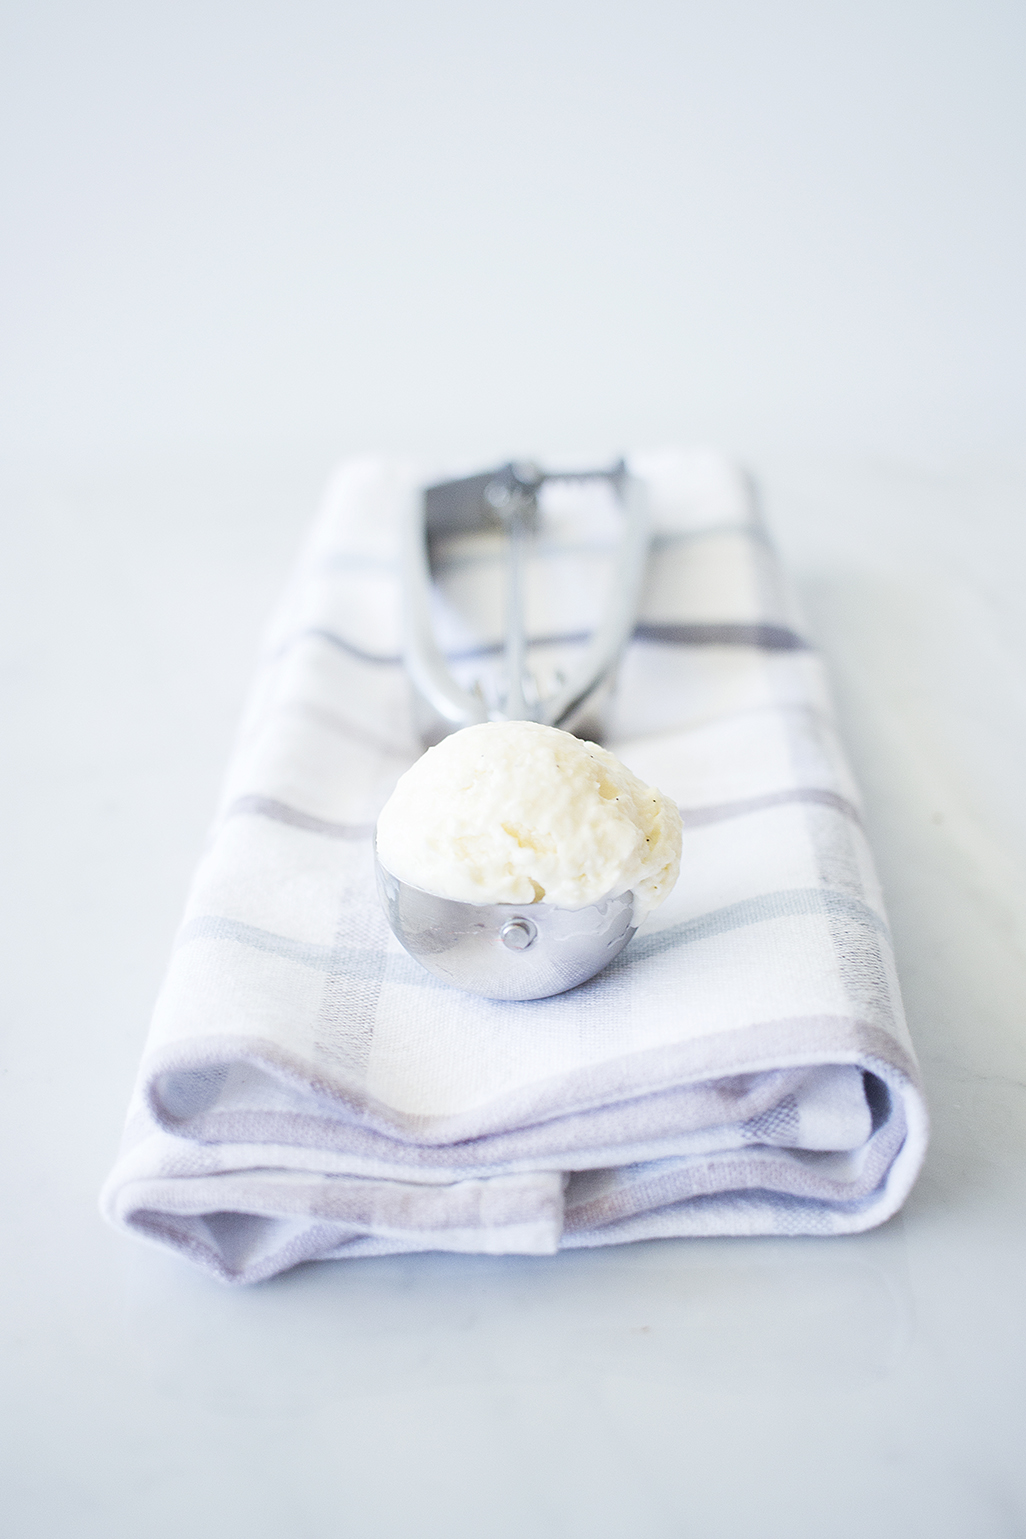
And I really love vanilla bean ice cream. It’s my favourite because it’s so delicate and the fact that the vanilla is natural really makes you appreciate the difference with cheap essences.

The other thing that I like about this recipe is that you learn 2 techniques: how to make ice cream but also how to make a crème anglaise so you get two techniques for the reading of one 😉
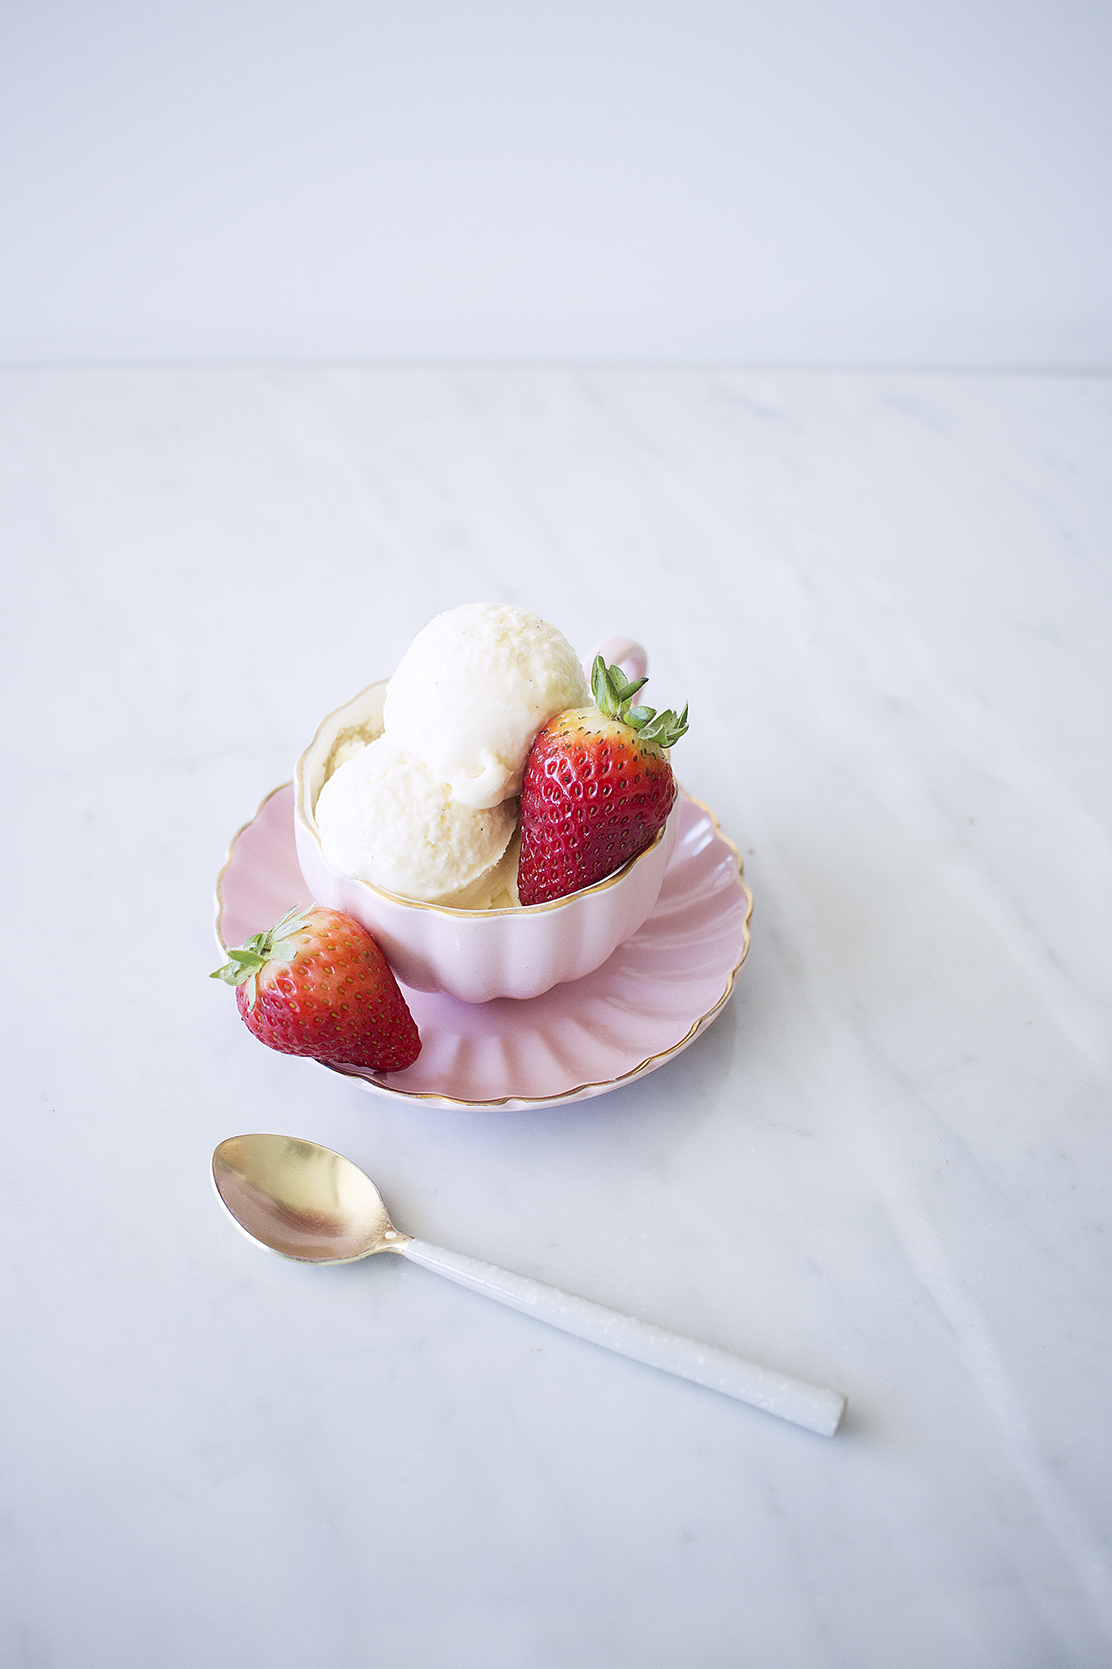

Vanilla Bean Ice Cream (no ice cream machine)
Ingredients
- 120 g granulated sugar
- 4 egg yolks
- 250 ml whipping cream
- 250 ml whole milk (it's important that it's whole!)
- 1 vanilla bean
Instructions
-
Pour roughly half the sugar onto the egg yolks and whisk inmediately. If you don't, the sugar will cook the surface of the yolks to form a thick layer that doesn't dissolve.
-
Whisk the yolks and the sugar until it goes lighter in colour.
-
The other half goes into a pot with the cream and the milk.
-
In the same pot goes the vanilla seeds and pod. To remove the seeds first make sure the bean is rounded (it flattens out when vacuum-packed) and then cut in half lengthwise.
-
Use the back of a knife to gently scrape the seeds off and put them into the pot along with the pod which also has vanilla flavour and will further infuse the milk.
-
Warm up the milk and cream over medium heat until a nice amount of vapour comes out but it mustn't come to a boil.
-
Temper the egg yolks by adding roughly a third of the milk onto them and whisking them fast. This needs to be so as the heat is partially cooking the egg yolks. Then add the rest of the milk and whisk calmly since the worst is now passed 😉
-
Before going to the next step, prepare an inverted bain marie: a large bowl with water and ice with a smaller bowl on top to cool it.
-
Return everything to the pot on medium-low heat. Higher than this can make the mix split. Oh and by the way, what you're making right now is a crème anglaise (that liquid vanilla sauce that comes with some desserts at restaurants)
-
Stir constantly as the mix thickens. The first sign that the crème anglaise is almost done is that the foam from the top will disappear. From there it goes really fast and we're looking for a coating consistency: if you put your spoon or spatula into the mix and take it out, you should be able to draw a line across it and it shouldn't be erased when you lift it up. For further reference, watch the video above.
-
Once you reach coating consistency pass it through a sieve and onto the bowl on the inverted bain marie.
-
Stir to help it cool to room temperature and add more ice if necessary.
-
Put it on a large container (I used a large oven dish) and pop it in the freezer. The large dish is to help it freeze quicker.
-
Once frozen completely, put it on the mixer on full speed until is goes back to being smooth.
-
Freeze again
-
Whip up again 🙂
-
Put the ice cream (now nice, smooth and silky) into its final container. Plastic like the ones pre-cut pineapples come in is perfect.
-
Freeze until it has a nice consistency... AND EAT!
I hope you liked this recipe and honestly it’s so worth it to make it at home! So organize your week so you get to do your own ice-cream for the weekend.

